Soap Dishes
Soggy soap is one of my pet peeves. How can one possibly feel clean after using a bar of soap that is slimy and swampy feeling?
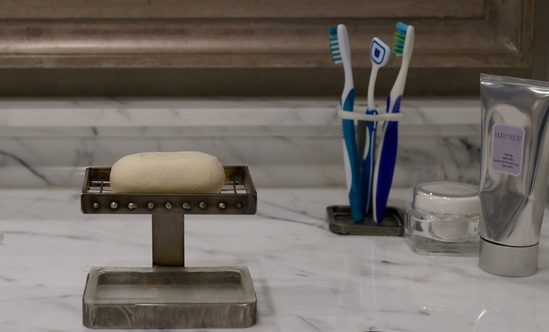
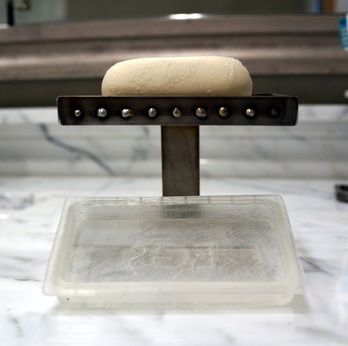
As I grew more comfortable using my TIG welder, I began this project. It involved smaller pieces and fine wire, and therefore wouldn't have been a good starting point in my quest to master the TIG. I won't pretend that the design of the dish was anything revolutionary, but I am amazed that very few soap dishes are actually built to keep soap dry like this one is.
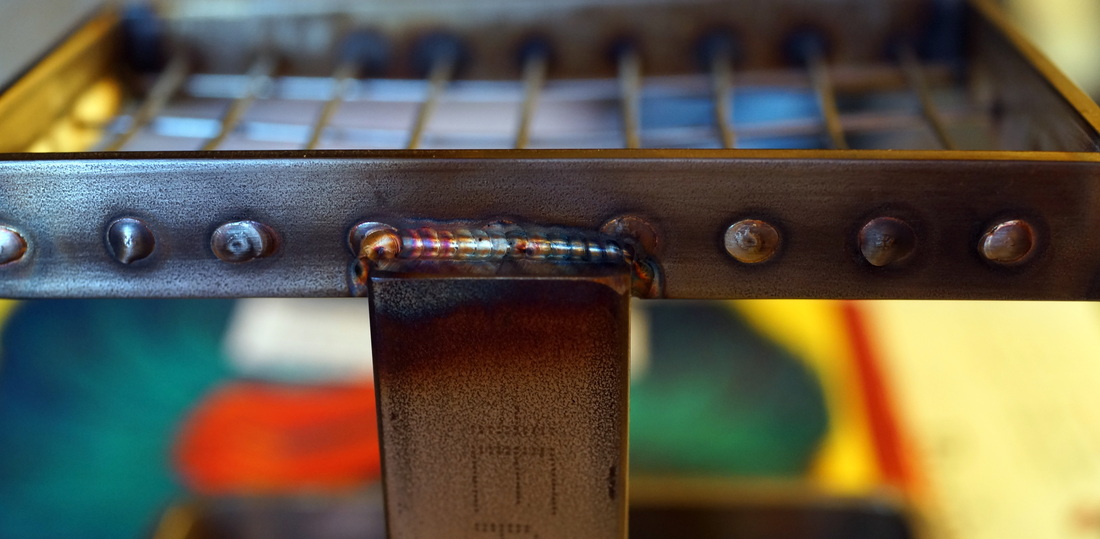
I started construction by using my then new mini mill to drill a series of evenly spaced holes in stainless steel flat bar stock. After cutting the bar to size with an abrasive chop saw, I tack welded the four corners together to create the top frame of the dish. Then I used snips to cut several lengths of 1/16" stainless steel filler rod, which I threaded through the holes that I had previously drilled in the frame. I left the rods a little long, so that when I fused them to the frame I was left with enough excess material to create pretty weld beads.
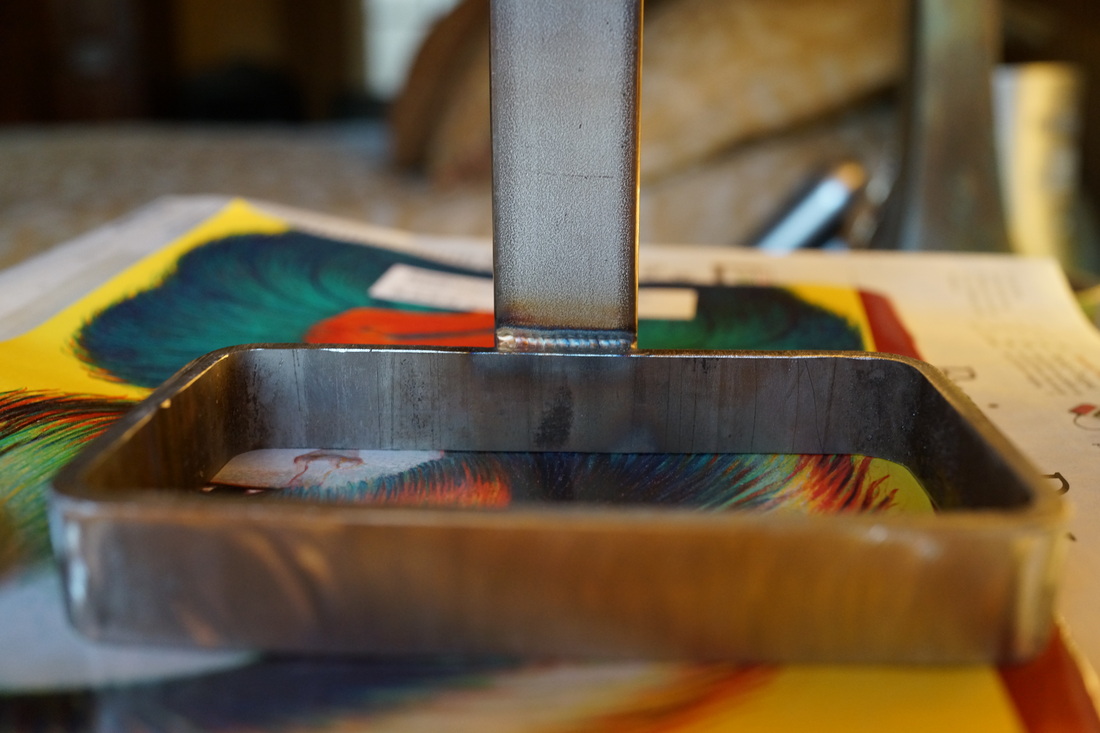
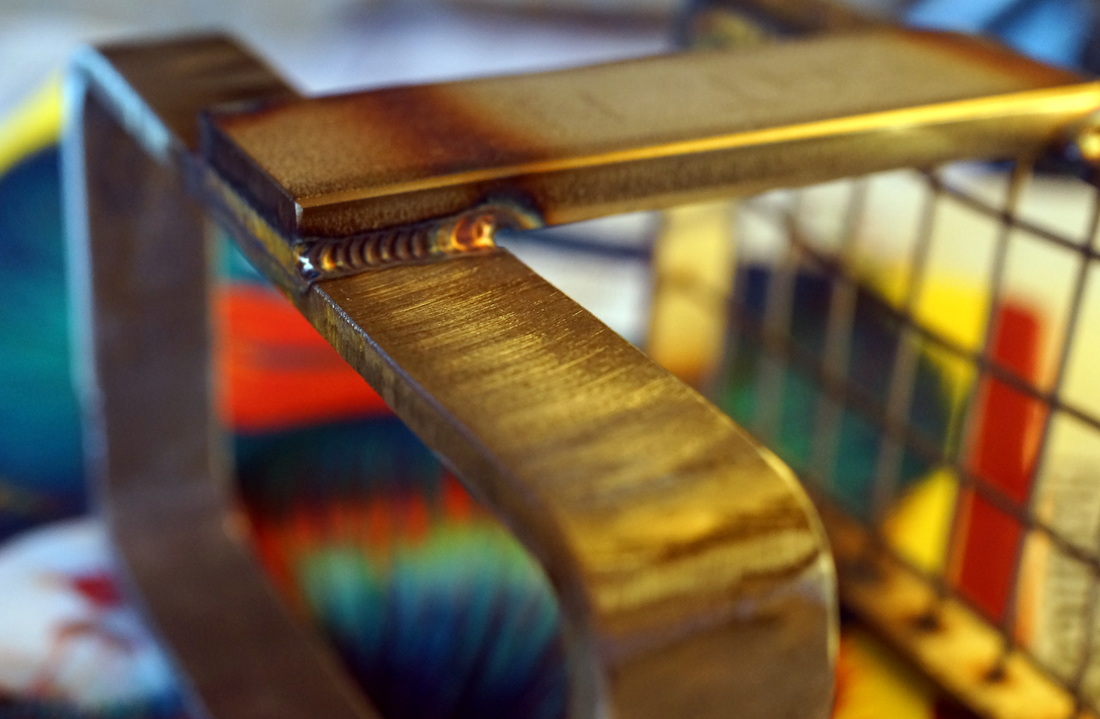
With the top frame done, I used some more stainless flat bar to create the neck of the soap dish, and cut a thin section of large stainless steel rectangular tubing to serve as the base of the soap dish. Welding all of the pieces together finished up the metal part of the assembly.
the process
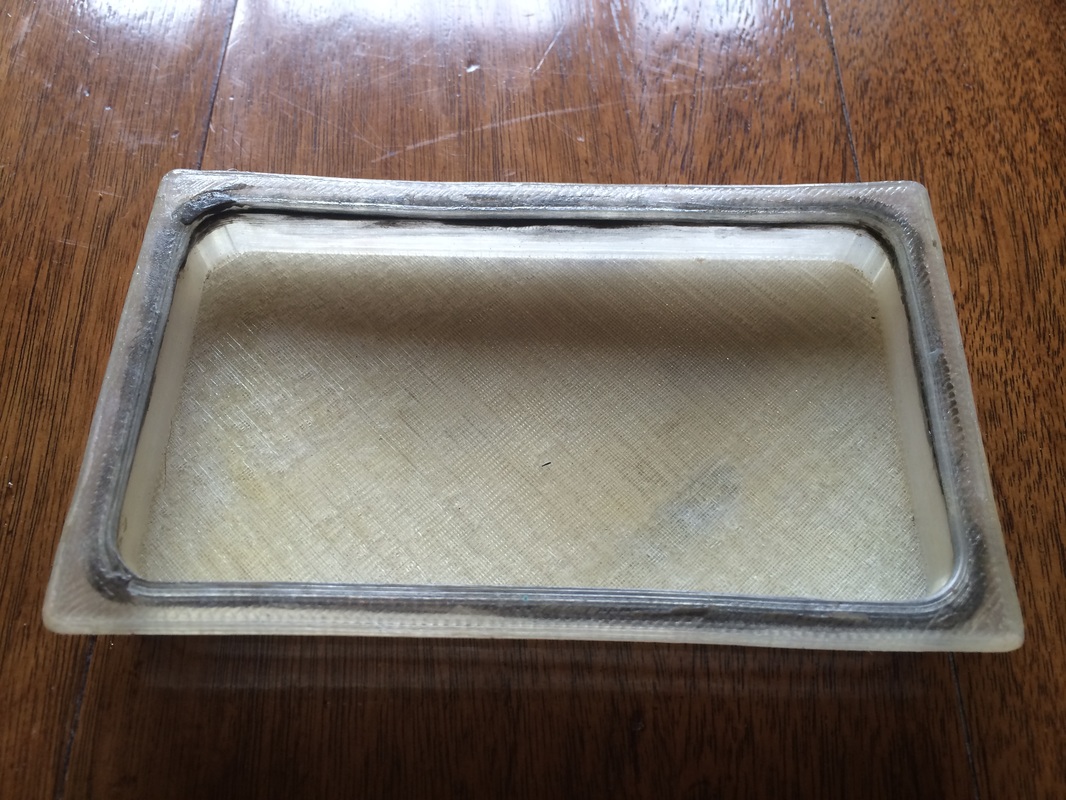
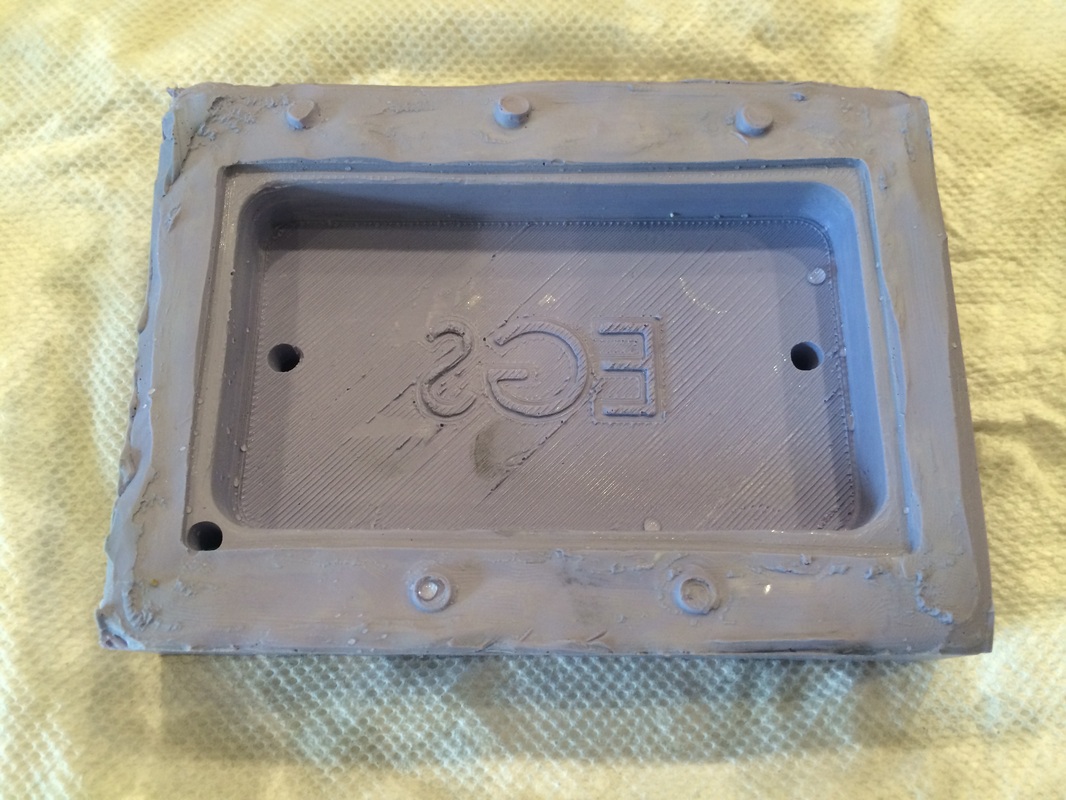
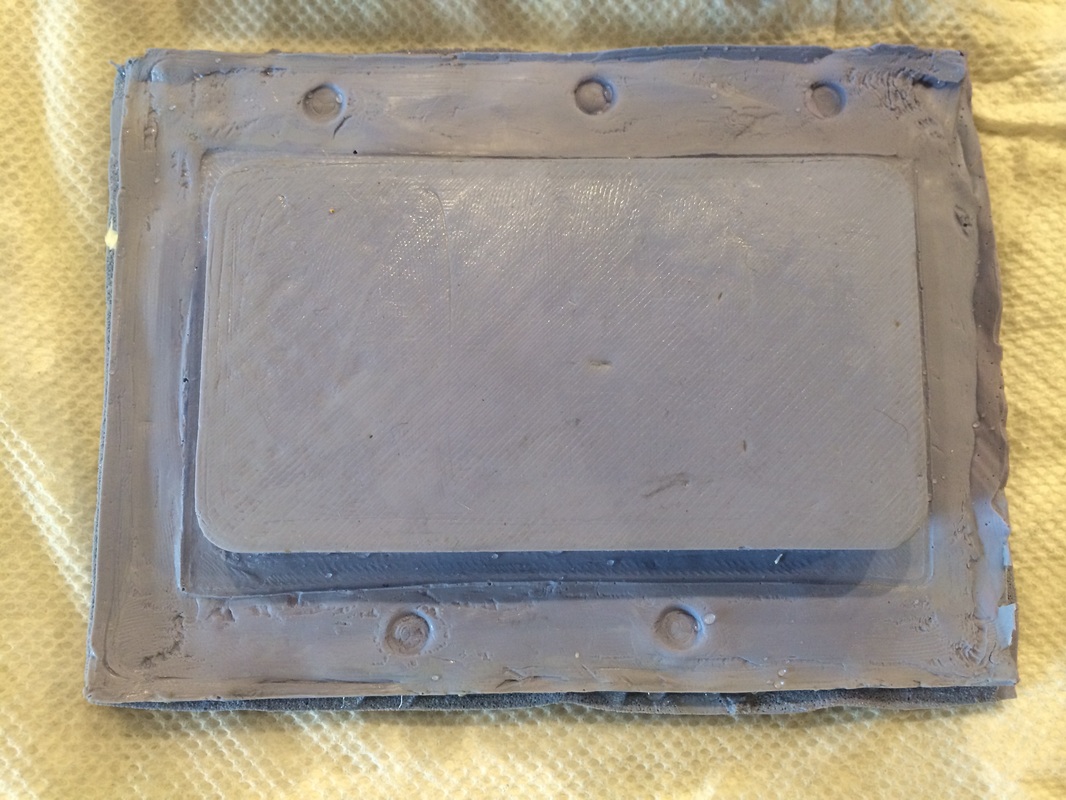
To make the drip tray, I used a clear urethane casting resin and a two-part silicone mold. The master, shown below, was 3D printed on my 3D Touch and the then hand-fished using sandpaper and filler material (the overhangs did not print too well). Because I did not have access to a vacuum chamber at the time, I used a low-viscosity silicone rubber to make the mold and poured it using the "bombs away" method introduced to me by the friendly neighborhood TAP plastics guys. I used a thin coat of Vaseline as the parting agent between the two halves of the silicone mold, and used a pencil eraser to create divots in the clay surround that would serve as keys to the mold halves once pouring was complete.
Once the mold was done, I was able to quickly create about 10 trays. Not all of them were perfect, but they were fast enough to make that I didn't get too hung up over a few rejects. Having a pressure pot and/or vacuum chamber would have helped significantly.

