3D Touch Modifications
Part 1
Heated Build Platform, Enclosed Build Chamber, and Filament Warmer
Purchasing my own consumer-grade 3D printer back in 2011 was one of the best decisions I've made. The printer (a Bits From Bytes 3D Touch dual extrusion) has been very useful over the years. More than anything, however, it's served as an experimentation platform as I learn more and more about 3D printing: material compatibilities, print parameter adjustments, warp reduction, reliability, repeatability issues... the list goes on and on! Despite my recent purchase of a used Stratasys Dimension 768SST, I'm still very involved in the DIY printer scene and look forward to continued experimentation. Seeing how a large and well-funded company like Stratasys was able to address some of the very same issues I dealt with on the 3D Touch has been a great learning experience as well. Now, onto the modifications:
While the 3D touch was a great FDM machine to start out on, I quickly began to run into several annoying issues.
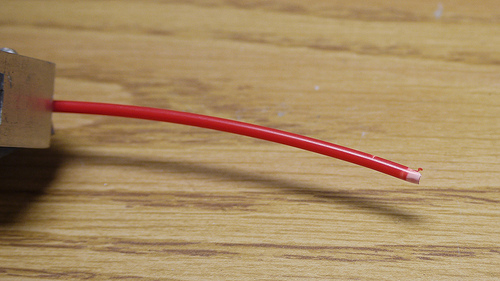
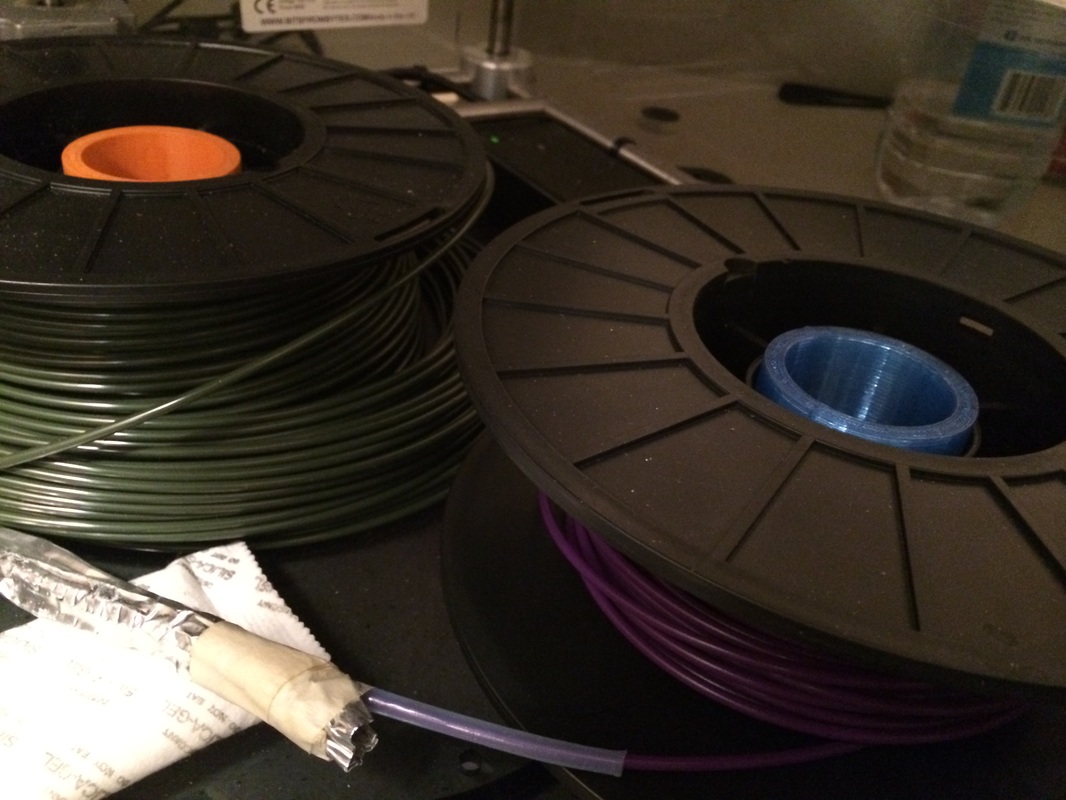
1. While there was no obvious solution to the brittle PLA, I did learn that it probably had to do with the crystalline structure of the material, and also that it is very sensitive to moisture. Keeping the build chamber enclosed would help with the moisture problem, but it wasn't enough. I realized that almost all of the filament breaks occurred at the point where the spool just began to unwind, and the filament transitioned from spiral-wound to straight (which made sense given the bending stresses that must have been present at that point). I figured that gently heating the PLA at that point might help. I bought some foil heat tape and wired it up to a dimmer switch. Voila -- no snaps since!
While the 3D touch was a great FDM machine to start out on, I quickly began to run into several annoying issues.
- PLA filament, while largely warp-free, would become very brittle and snap within the material delivery tubes.
- ABS prints any larger than a couple inches on a side would warp terribly.
- It was difficult to remove finished parts from the build platform. The platform would also warp and bend slightly with use, which meant that I'd need to re-level the machine every few prints -- a time-consuming and annoying process.
- It was even harder to remove rafts from parts, despite my best efforts to nail down print parameters.
1. While there was no obvious solution to the brittle PLA, I did learn that it probably had to do with the crystalline structure of the material, and also that it is very sensitive to moisture. Keeping the build chamber enclosed would help with the moisture problem, but it wasn't enough. I realized that almost all of the filament breaks occurred at the point where the spool just began to unwind, and the filament transitioned from spiral-wound to straight (which made sense given the bending stresses that must have been present at that point). I figured that gently heating the PLA at that point might help. I bought some foil heat tape and wired it up to a dimmer switch. Voila -- no snaps since!
2, 3 and 4: The warped prints lead me to the idea of a heated build platform. Many people had tried the concept out and vouched for its success. One person went so far as to tape a soldering iron underneath the stock print bed, and said that it solved most of his warp problems! Making the bed out of something more durable than the plastic laminate used by BFB would also prevent the bed from warping over time. Finally, I reasoned that if I could get the bed to be flat enough and "sticky" enough, I wouldn't need to print with rafts at all. Making the software to allow such raftless prints (then not a feature of the "Axon" software used to prep prints) is the topic of part 2 of this post.
I wanted to make my heated bed a little more durable than that, however, and I had time anyway (I was then finishing up my last semester at MIT, which was pretty relaxed). There were a number of design considerations that immediately came to mind:
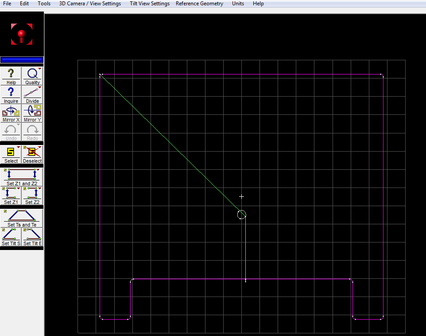
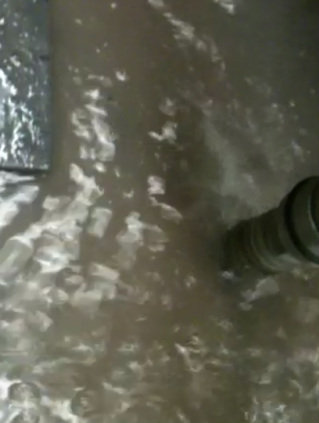
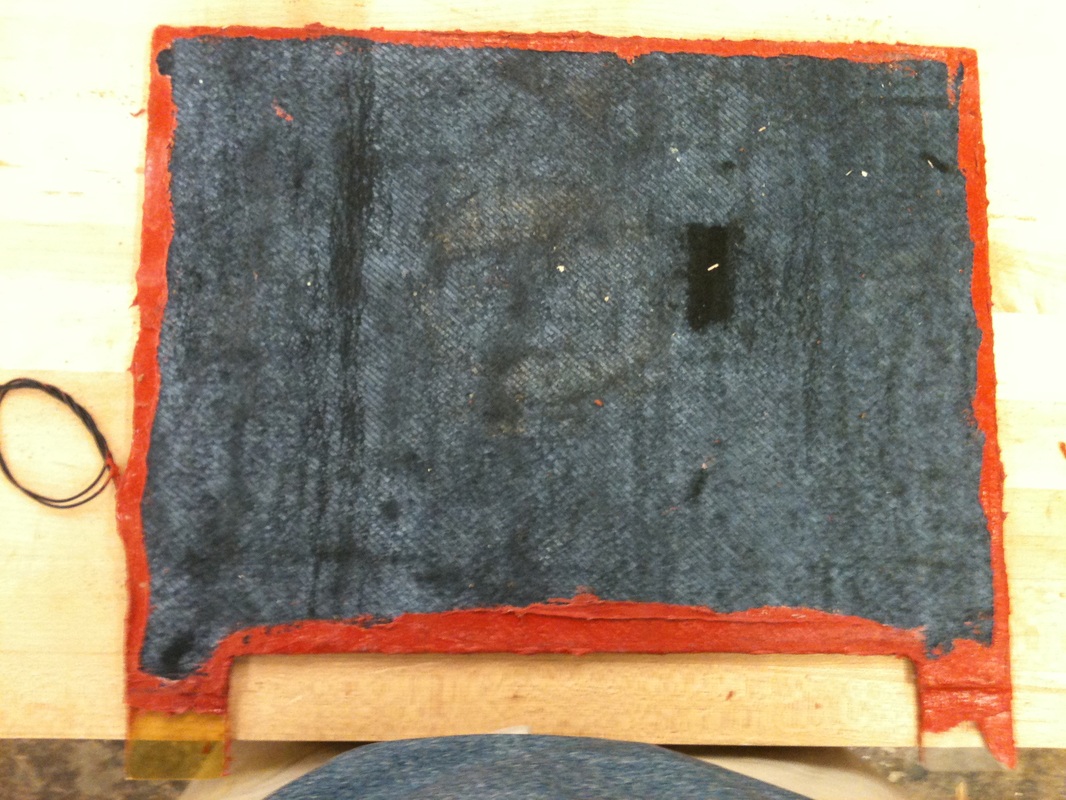
With my base material selected, I realized that I had a new problem to deal with: how would I cut the specific shape (pictured below) out of this sheet of glass-ceramic? Thankfully the MIT Hobby Shop owns an OMAX waterjet machine that is open for student use. By starting the cut outside of the stock material and slowly "walking" it in, I was able to successfully cut the form without any cracks or chips.
I wanted to make my heated bed a little more durable than that, however, and I had time anyway (I was then finishing up my last semester at MIT, which was pretty relaxed). There were a number of design considerations that immediately came to mind:
- The print bed had to be very flat.
- The print bed couldn't warp or buckle when heated -- it would be undergoing 100C temp swing on the order of ~5 minutes.
- The print bed had to be lightweight, so that the z-stage stepper motor could still move it up and down with ease.
- The top surface of the print bed had to stick to both ABS and PLA (the two materials that I used most often).
With my base material selected, I realized that I had a new problem to deal with: how would I cut the specific shape (pictured below) out of this sheet of glass-ceramic? Thankfully the MIT Hobby Shop owns an OMAX waterjet machine that is open for student use. By starting the cut outside of the stock material and slowly "walking" it in, I was able to successfully cut the form without any cracks or chips.
Once the glass-ceramic was cut, I stuck the adhesive-lined 600W kapton heat sheet onto the bottom of the glass-ceramic surface. I used some high-temperature silicone RTV caulking (intended for DIY exhaust gaskets) to glue a thin sheet of insulation below the heat sheet.
Finally it came time to address the last (and arguably most important) requirement of my heated bed: that parts would stick to it. Luckily, lots of experimentation had already been done by hundreds of other hobbyists -- all I had to do was look. Kapton tape seemed like a clear choice given the success that others were having with it, but there was concern that PLA didn't stick to it properly. I reckoned that most of those adhesion failures were due to lack of "texture" on the build surface. Even if the materials don't chemically bond (which would be a bad thing -- you'd never get it off) they can mechanically bond.
I bought a sheet of adhesive-backed 0.005" thick kapton (the extra thickness would hopefully allow this to be a durable good, which would save me from having to re-tape the bed on a monthly basis like my online peers were doing). I carefully squeegeed the film into place, using a soapy water solution to "float" the film like one does when installing window tints. By the time I was done about an 30 minutes later, there was nary a bubble.
I installed the bed once I got back for Spring break, and it worked -- and continues to work -- wonderfully!
Part 2
DeRafting Software for BFB 3D-Touch: My First Python Code
This code that I wrote (with the help of two great friends) serves as a small example of some of the issues that I've attempted to tackle in making the 3D Touch behave more like a professional machine. Back when we made this program in mid-2013, the software package used by BFB created a raft on all prints. Though the rafts did serve a purpose on trickier prints (helping with bed adhesion and warping minimization) they were cumbersome to remove and often made simple prints take far longer to finish than one would like. Having an option to de-raft was I feature that I wanted access to, but existing solutions didn't work well.
Below are the post and Python code that I put on the BFB forum after creating the code:
I've been doing a fair amount of work on my 3D Touch lately, and just finished building a custom heated bed (will post about that later). Long story short, I wanted my print files to be raftless since the raft really wasn't at all necessary given my perfectly flat and hot print bed. Or so I thought. When I used the derafter that I found elsewhere on this site I was having trouble getting the first few layers of the part to stick well to the bed. If I continued to heat the bed further, I got unwanted melting/warping of the part. I also had issues with a few bugs in the derafter software that I was using (I’m sure that they’ll be fixed soon) and decided that I'd try to program my own and learn Python in the process.
I did so with a lot of help from a couple of college friends from MIT (Connie Chan and Matthew Meisner) who brought me up to speed in Python and helped to write and debug the program. I'm very happy with the results and hope that you guys will like it too. The solution is built specifically for BFB printers (based on output files for my 3D touch) originating from the latest version of Axon.
The program’s operation is pretty simple. The program takes 2 inputs: the desired print file in a "thick" (.5mm) format and then the SAME desired print file in a thinner or equivalent (.5mm, .25mm, or .125mm) format. There are also inputs that tell the program what the part layer thickness is (used to set extrusion speed) and to control whether or not the fan is on during the build process. You also must select which extruder is to be used during the build --- at the moment this program supports only single material, single extruder builds. That extruder must match the one selected when the print file was made using Axon. The user then tells the program the target part build temperature (used for layers 2 and beyond) as well as the first layer temperature. I usually go a bit hotter on the first layer temperature when using PLA (220C seems to do the trick) and then transition to the stock build temps for the rest of the part.
The program takes both input files and does a standard deraft operation on each. Then it takes the first layer from the “thick” build and puts on top of it the subsequent layers from the “thin” file. The result is a part with a thick bottom layer that sticks to the print bed well without a raft, and thinner subsequent layers that allow for finer part resolutions.
I’m hoping that functionality like this might come pre-programmed in later revisions of Axon. My experimentation has led me to believe that this method of printing is really the ticket to successful raftless builds. Please let me know what you think of the program and inform me of any bugs/suggestions. I’ll try my best to answer them ASAP, but may not always be able to do so in a very timely fashion.
| bfb_derafter_merger_emc3.py |

