Furniture and Such
Soap Dish:
Soggy soap is one of my pet peeves. How can one possibly feel clean after using a bar of soap that is slimy and swampy feeling?
As I grew more comfortable using my TIG welder, I began this project. It involved smaller pieces and fine wire, and therefore wouldn't have been a good starting point in my quest to master the TIG. I won't pretend that the design of the dish was anything revolutionary, but I am amazed that very few soap dishes are actually built to keep soap dry like this one is.
I started construction by using my then new mini mill to drill a series of evenly spaced holes in stainless steel flat bar stock. After cutting the bar to size with an abrasive chop saw, I tack welded the four corners together to create the top frame of the dish. Then I used snips to cut several lengths of 1/16" stainless steel filler rod, which I threaded through the holes that I had previously drilled in the frame. I left the rods a little long, so that when I fused them to the frame I was left with enough excess material to create pretty weld beads.
With the top frame done, I used some more stainless flat bar to create the neck of the soap dish, and cut a thin section of large stainless steel rectangular tubing to serve as the base of the soap dish. Welding all of the pieces together finished up the metal part of the assembly.
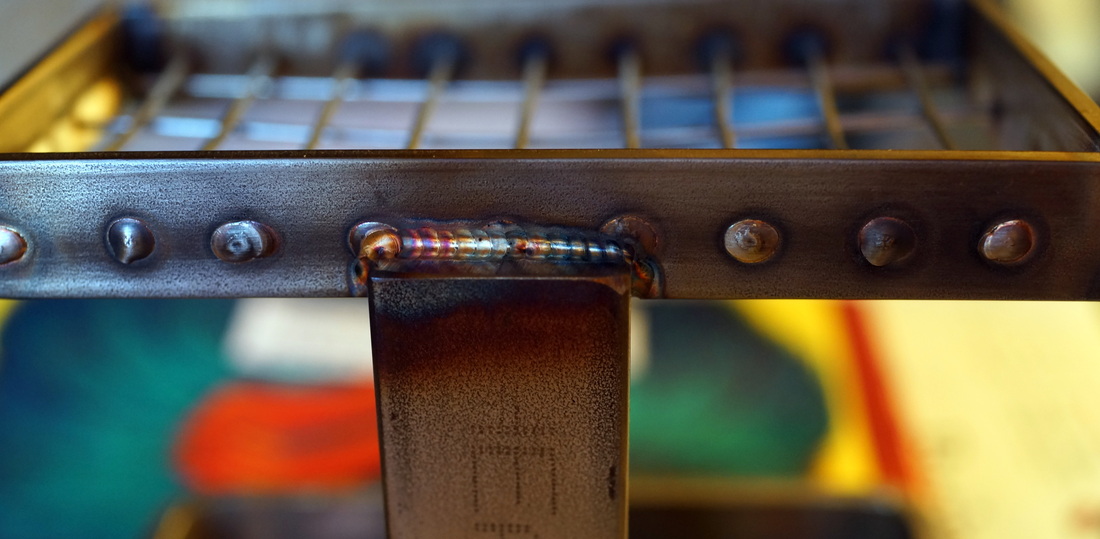
Top frame welds.
|

Bottom frame welds.
|
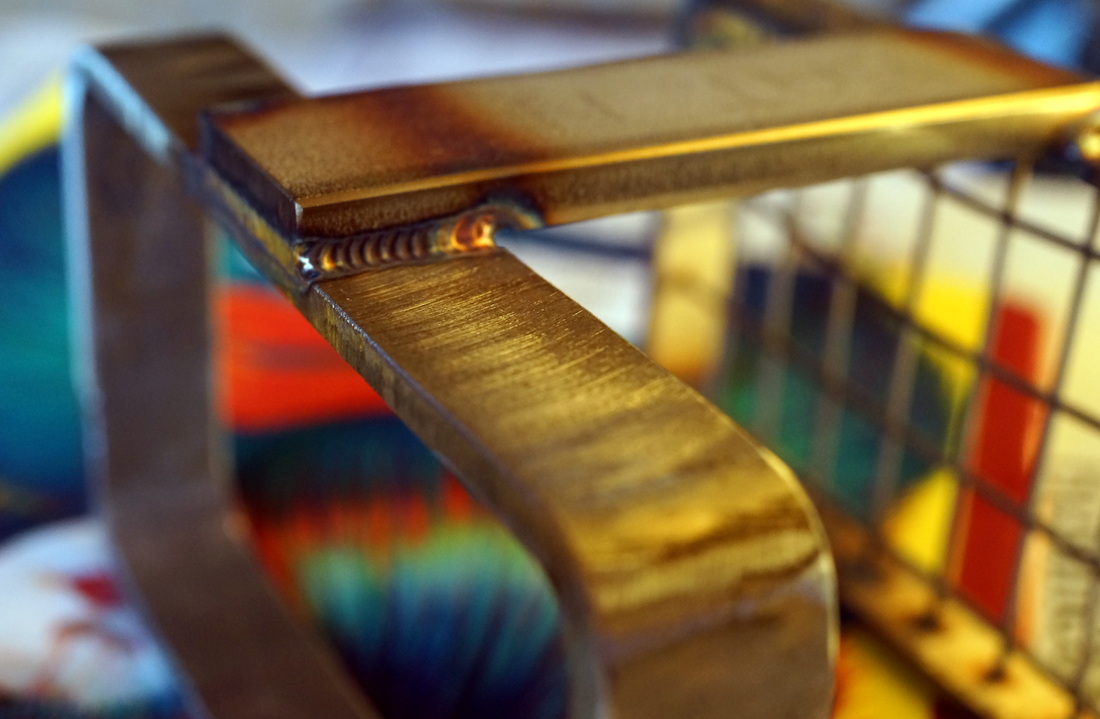
This thing is not going to break anytime soon, unless it's severely misused.
|
To make the drip tray, I used a clear urethane casting resin and a two-part silicone mold. The master, shown below, was 3D printed on my 3D Touch and the then hand-fished using sandpaper and filler material (the overhangs did not print too well). Because I did not have access to a vacuum chamber at the time, I used a low-viscosity silicone rubber to make the mold and poured it using the "bombs away" method introduced to me by the friendly neighborhood TAP plastics guys. I used a thin coat of Vaseline as the parting agent between the two halves of the silicone mold, and used a pencil eraser to create divots in the clay surround that would serve as keys to the mold halves once pouring was complete.
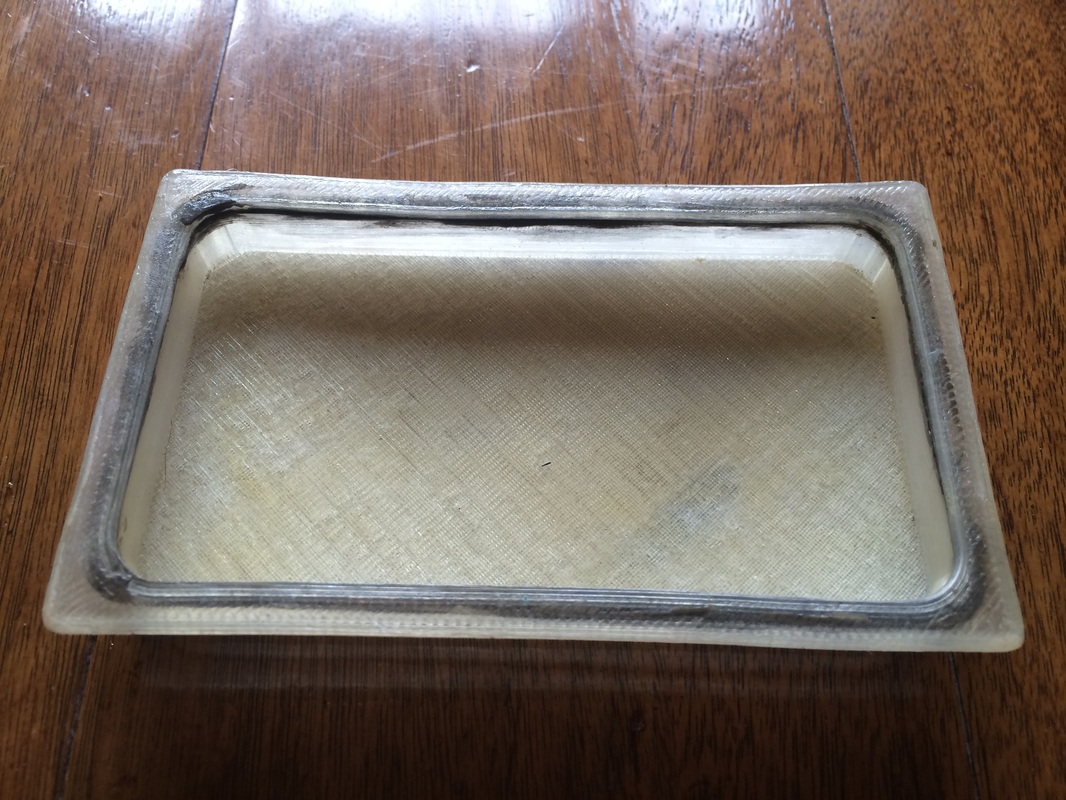
3D printed master.
|
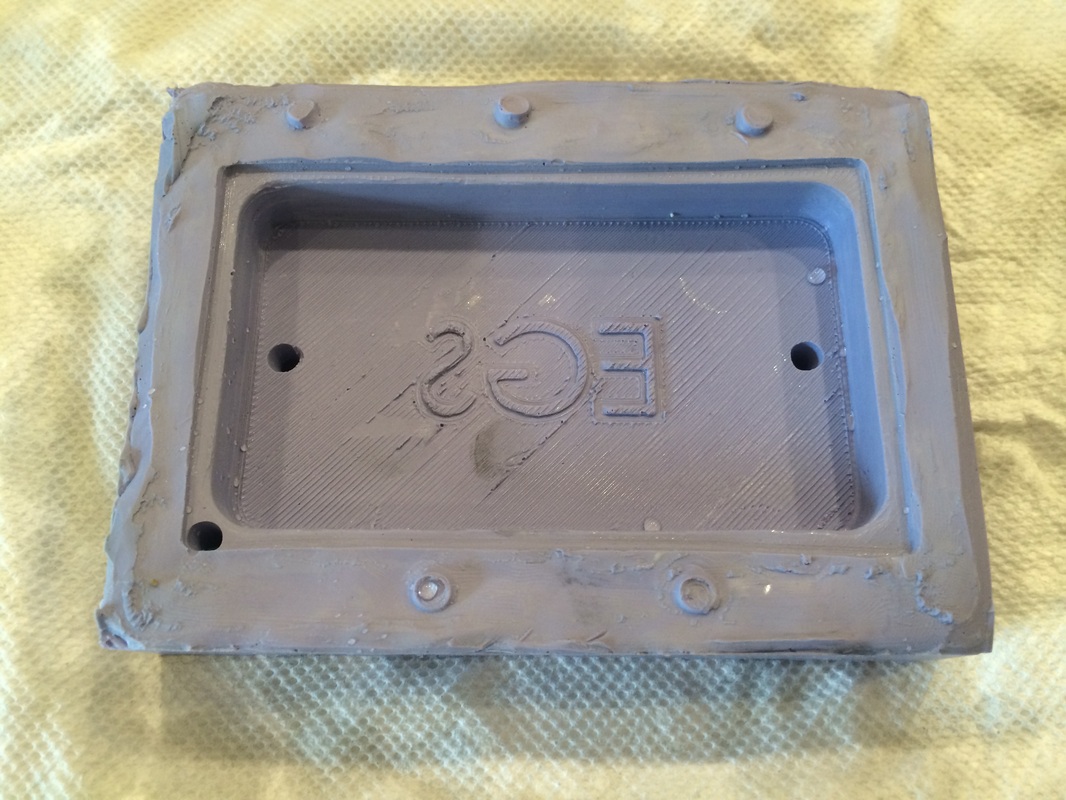
Mold top (note pour sprue on bottom left and vent holes on the left and right ends of the center line).
|
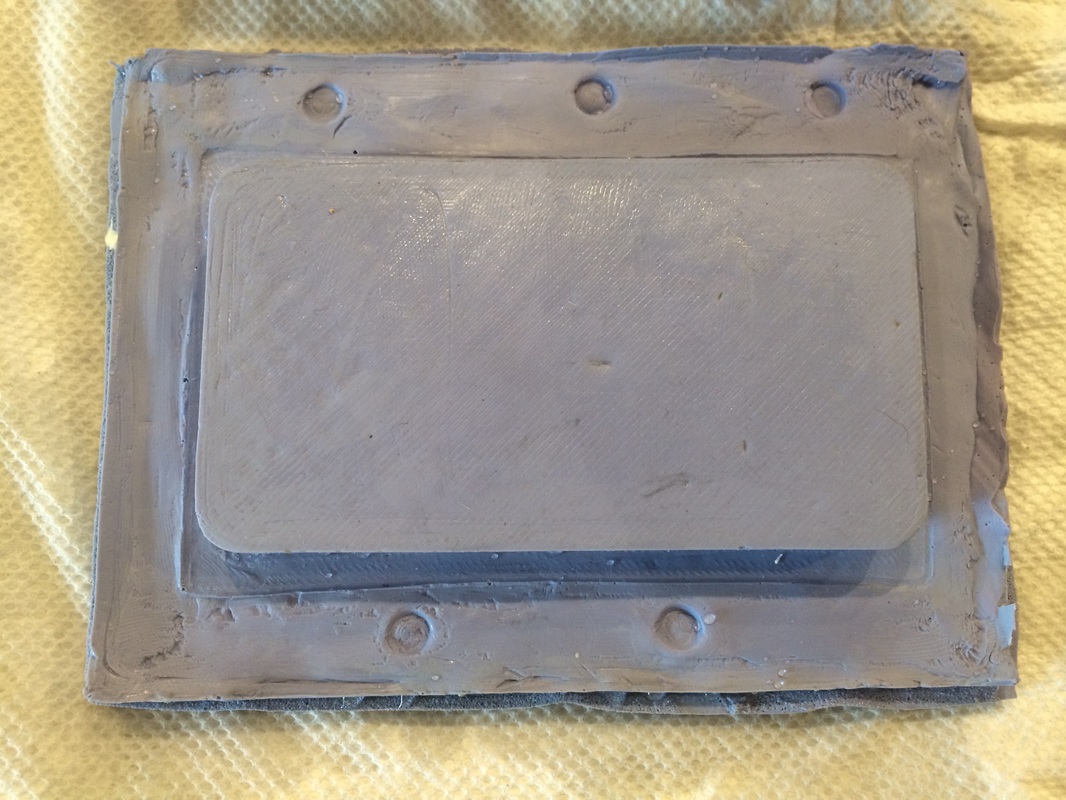
Mold bottom.
|
Once the mold was done, I was able to quickly create about 10 trays. Not all of them were perfect, but they were fast enough to make that I didn't get too hung up over a few rejects. Having a pressure pot and/or vacuum chamber would have helped significantly.
The finished product..
|
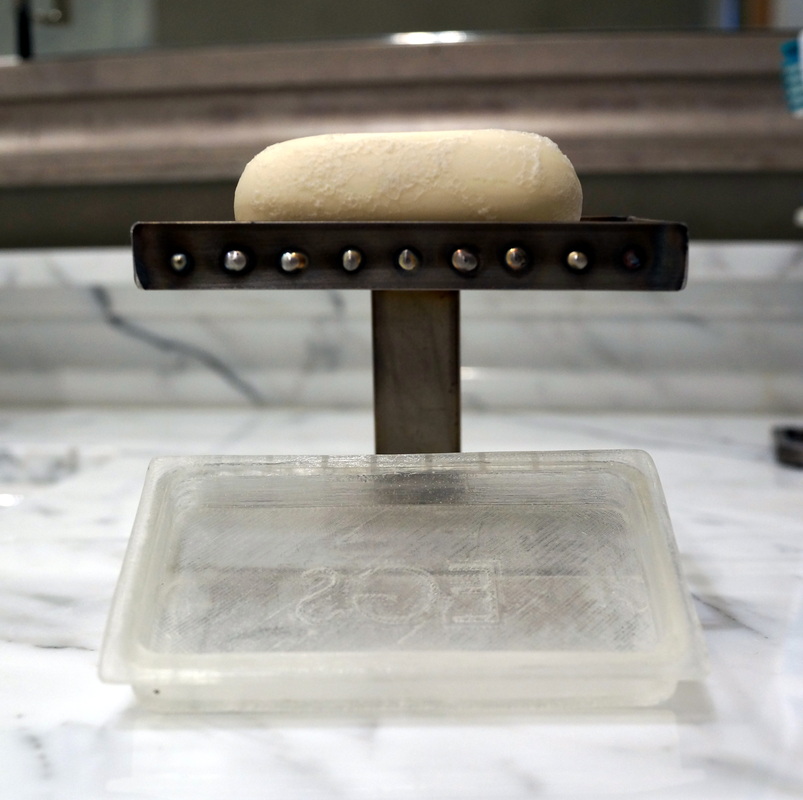
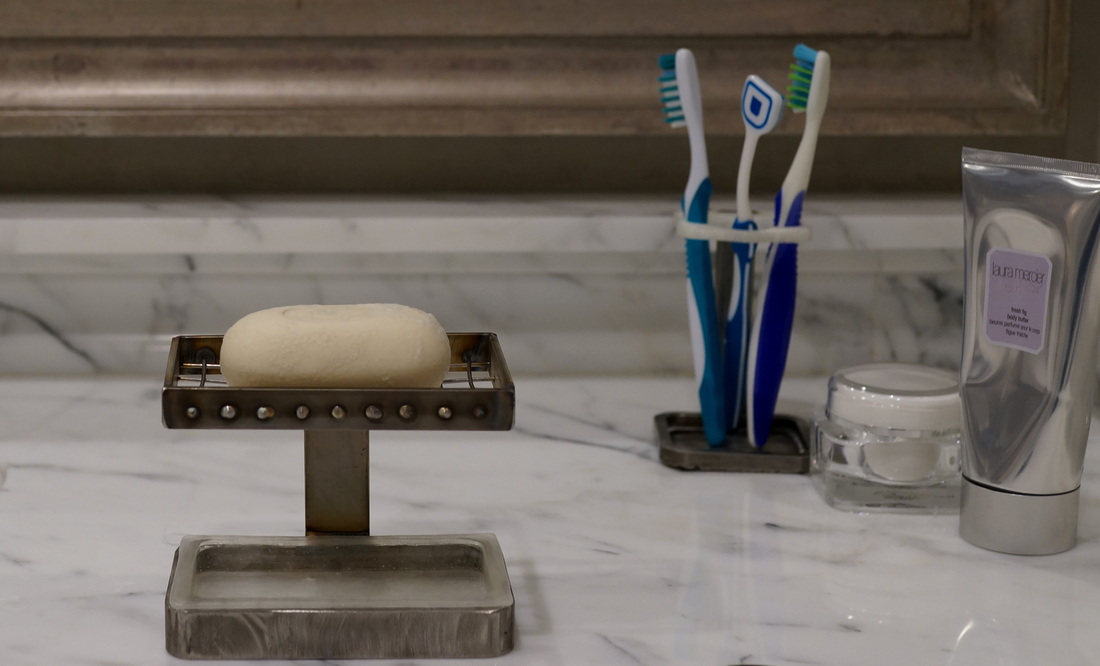
The cast drip tray fits into the base of the dish and is removable for cleaning.
|
Felt Sliders:
This quick project started when my family grew tired of constantly changing the felt pads on the bottom of our kitchen table chairs. For some reason, they always ended up getting sticky and then slowly sliding off of the feet of the chairs, eventually resulting in failure and the prompt scratching of the wood floor. After looking through the local Ace Hardware shop for a better solution and coming up empty, I decided to try a simple idea myself.
The beginning of the end -- this pad will be a goner within a day or two of normal use.
The first part of my solution would be to use better adhesive. I wanted the pads to be stuck firmly in place (though ideally removable if absolutely necessary). For that I knew to look no further than 3M VHB tape -- the same stuff that's used to hold door panels on buses and certain semi-critical parts on airplanes. The felt, however, doesn't come with VHB backing, and applying VHB directly to the felt would be only as durable as the weakest link: the very same backing of the felt that was failing in the first place.
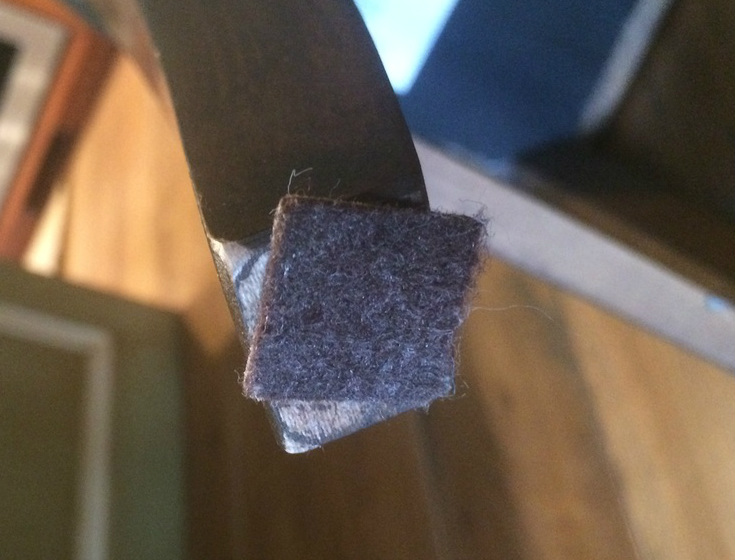
In order to better hold the felt in place and give the VHB something solid to grab onto, I printed some simple square pads with recessed centers that are about 0.5" on a side. The recess helps to keep the adhesive-backed felt in place, because the walls of the square mechanically prevent it from sliding away. VHB tape was then used on the bottom surface of these pads to solidly mount them to the feet of the chairs. So far they've gone about a month without needing further attention -- already a household record! We'll see how much longer they hold up with time.
In order to better hold the felt in place and give the VHB something solid to grab onto, I printed some simple square pads with recessed centers that are about 0.5" on a side. The recess helps to keep the adhesive-backed felt in place, because the walls of the square mechanically prevent it from sliding away. VHB tape was then used on the bottom surface of these pads to solidly mount them to the feet of the chairs. So far they've gone about a month without needing further attention -- already a household record! We'll see how much longer they hold up with time.
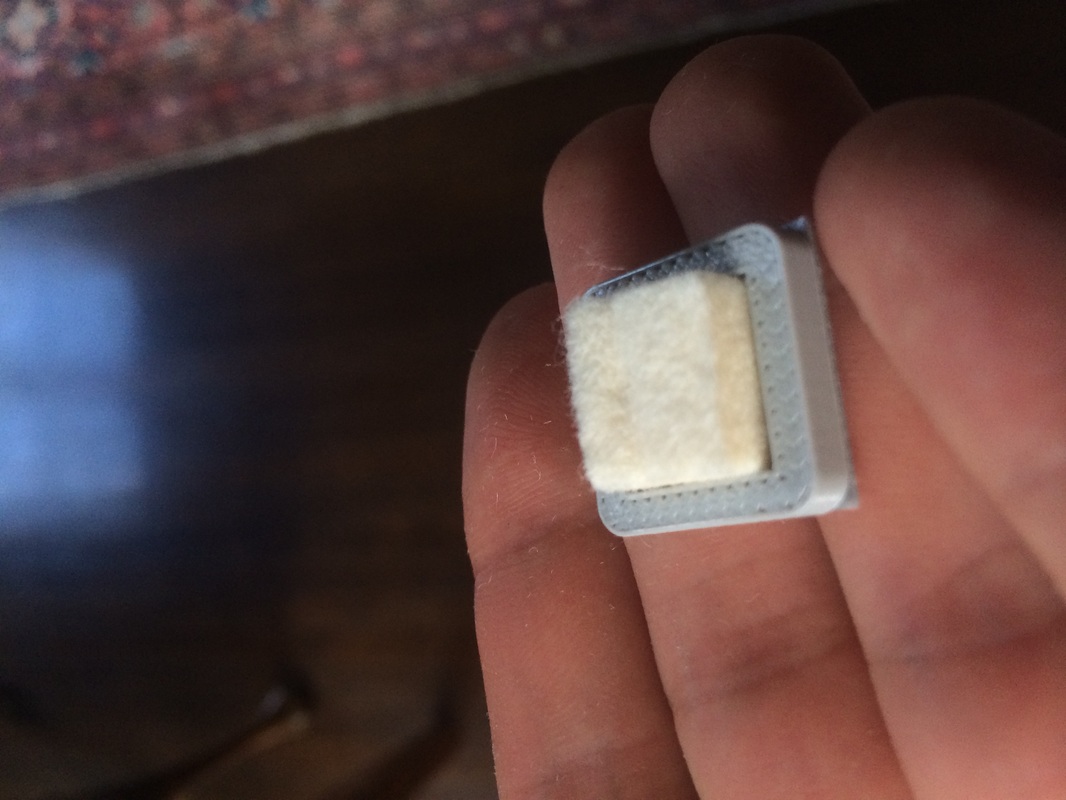
the 0.5" felt square is trapped in place.
|
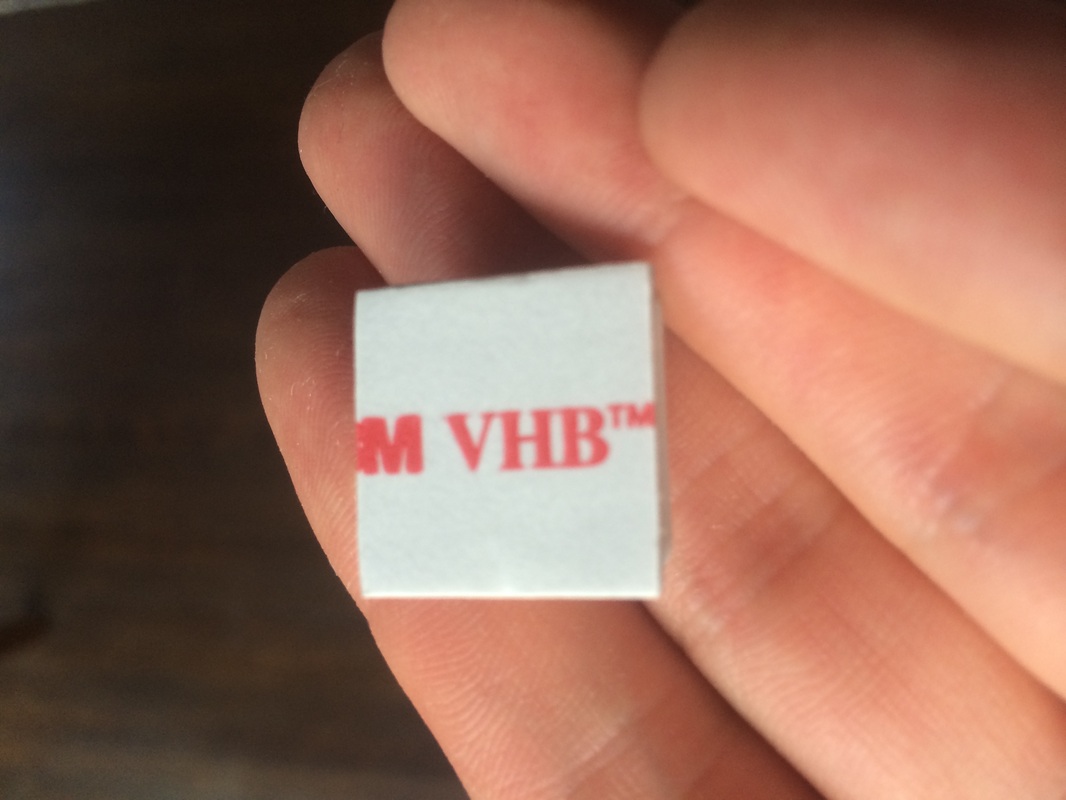
VHB multipurpose tape keeps the bottom of the assembly attached to the chair.
|

The pad in action.
|
Crazy Table:
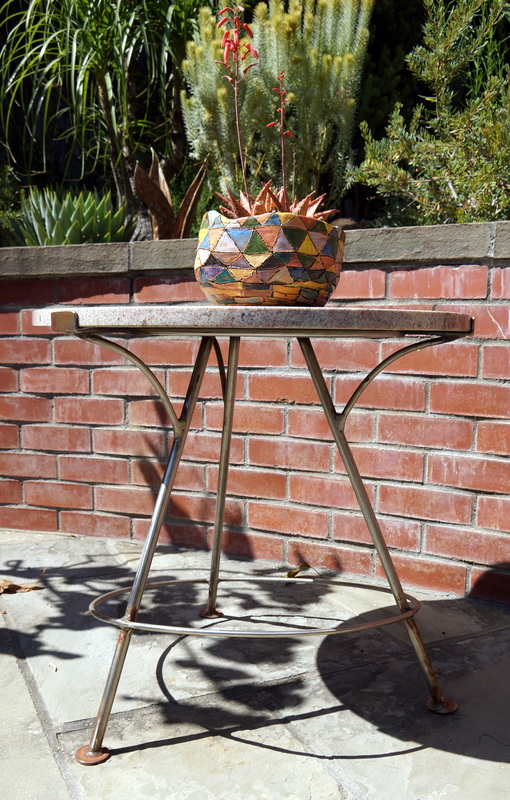
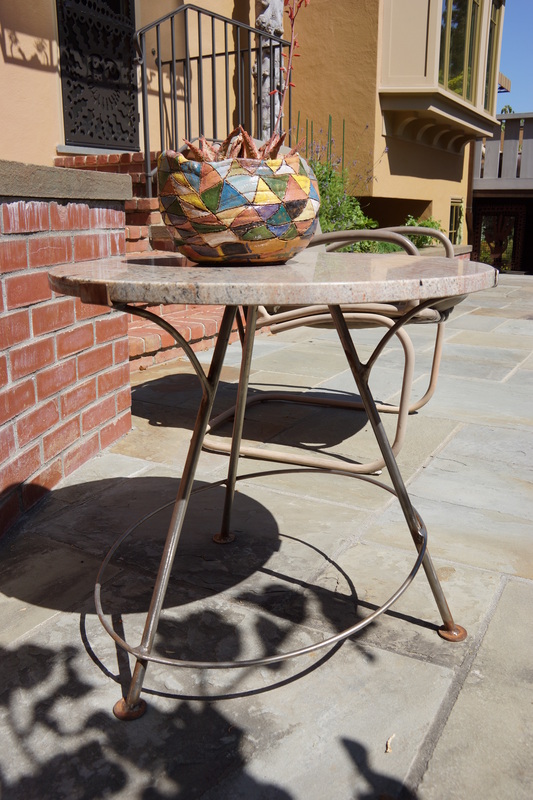
I designed this table to use some leftover granite that we had after creating an outdoor kitchen. I wanted the base to be thin and simple, so as not to detract from the beautiful granite sitting on top. In order to keep the 3 spindly legs stable, I put a loop around them near the bottom of the table. I purposely left it at a wonky angle to make the piece more playful.
|
|
Bird Bath:
My mom and I have been creating glass and ceramic pieces at my aunt's studio (Aran's Art Studio) for a long time. It's always a joy to head over there, visit with family, and play with colors and shapes -- like being a kid all over again!
This birdbath was created by first slumping glass pieces together to create the small tiles, and then using grout to embed them on top of a terracotta form (a pot saucer). The legs were made by soldering together some copper tubing.
This birdbath was created by first slumping glass pieces together to create the small tiles, and then using grout to embed them on top of a terracotta form (a pot saucer). The legs were made by soldering together some copper tubing.
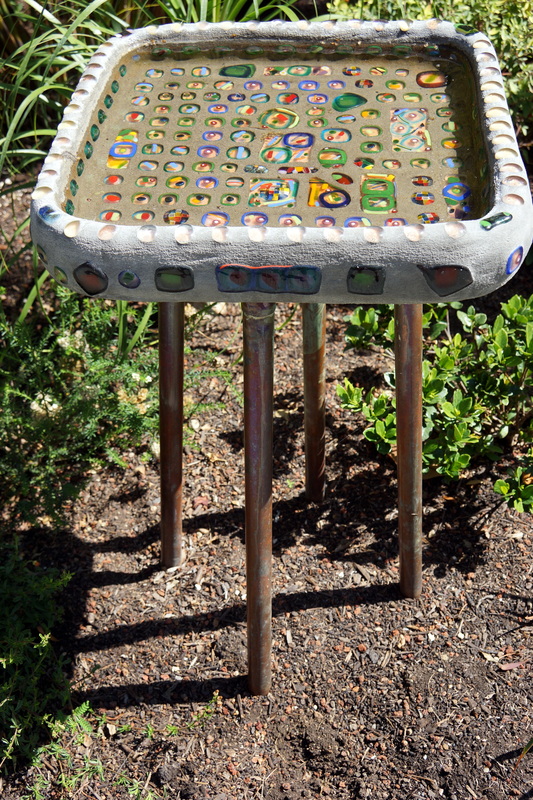
The birds love this thing -- we see them taking baths almost every day!