Wire Bending, or Patience 101
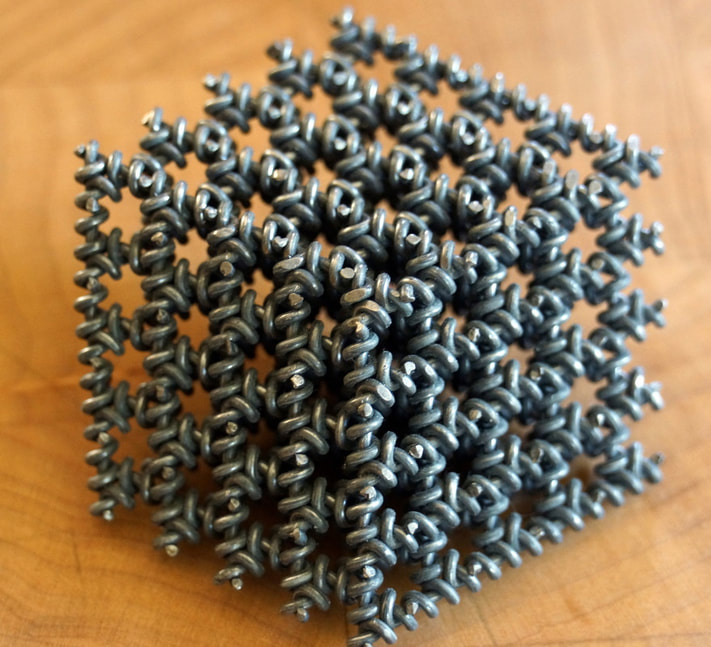
This hobby started during my freshman year at MIT, when I was fortunate enough to have been placed in Ed Seldin's advisee group. In addition to being a skilled oral surgeon, he is an extremely patient and interesting engineer -- he taught our group how to bend thin steel wires into "unit helices" using only a small pair of pliers and vice grips. The object on the right was my creation, the result of a few hours per week of work during our check-in meetings over the course of the first semester of school.
A unit helix is simply a helix that is created when the central hollow diameter is equal to the diameter of the rod being bent, which is also equal to the spacing between loops in the spiral (in other words the pitch of such a unit helix would be 2 rod diameters/revolution). Making the object pictured on the right required the fabrication of 75 15-turn unit helices, which were then screwed together to form the densely-packed hexahedron shape.
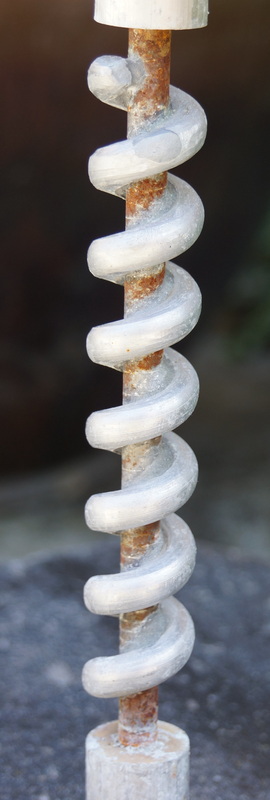
The unit helices are made by first fabricating a "master helix," which is created by sheathing a core of the wire material with two wraps of the same wire. One of those wraps is then peeled away, leaving a single unit helix wrapped around a solid core. Subsequent helices are made by wrapping wire into the void of this master, and then unscrewing the newly created turns as they are created. Finally, the children helices can be trimmed to length.
the process
|
When I got back home, eager to show the family my creation, I realized that making a BIG version of the same shape would be really striking. My mom agreed, and soon enough the materials were ordered and en-route to my MIT dorm. I decided to go with a 3/8" aluminum armature wire (typically used to create the frame for clay or paper mache sculptures) because it was annealed to a dead-soft state and therefore would be relatively easy to bend into shape.
Unfortunately, the project didn't begin as nicely as I had hoped it would have. Thankfully, Ed Seldin was happy to help me -- I even got to see his basement shop which was filled with all sorts of amazing contraptions and restored machine tools! About a month later, I was satisfied with the master-helix that Ed and I had created together. Realizing that the scope of this project would quickly become too large for my Simmons Hall dorm room, I packed up all of the wire into several boxes and shipped it back home to CA. Once I got back home for yet another summer break, I resumed work on the monster-helix project. I started by finishing the master helix. Ed and I noticed that the aluminum was too soft to serve as the central core of the master -- it would quickly bend and deform out of shape rendering the whole thing useless. So I carefully produced one more helix using the soft master, and then soldered it to a 3/8" steel rod using a special solder. I was amazed that the solder actually worked, though it did take a lot of patience and a special touch to get it to flow well (I practiced on scraps first). |
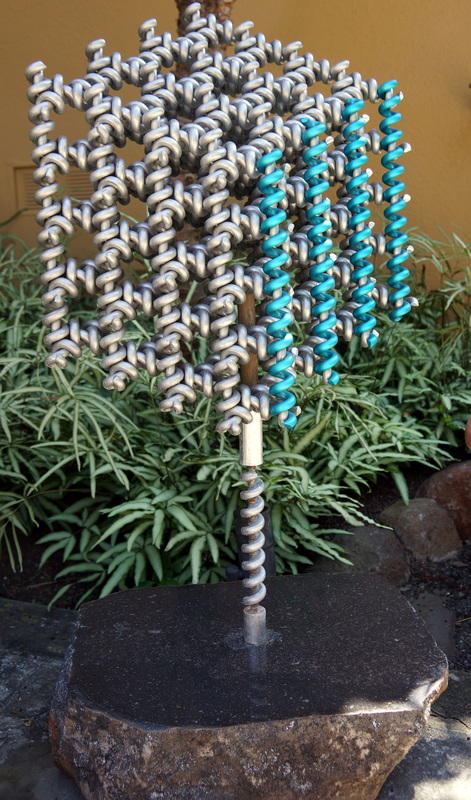
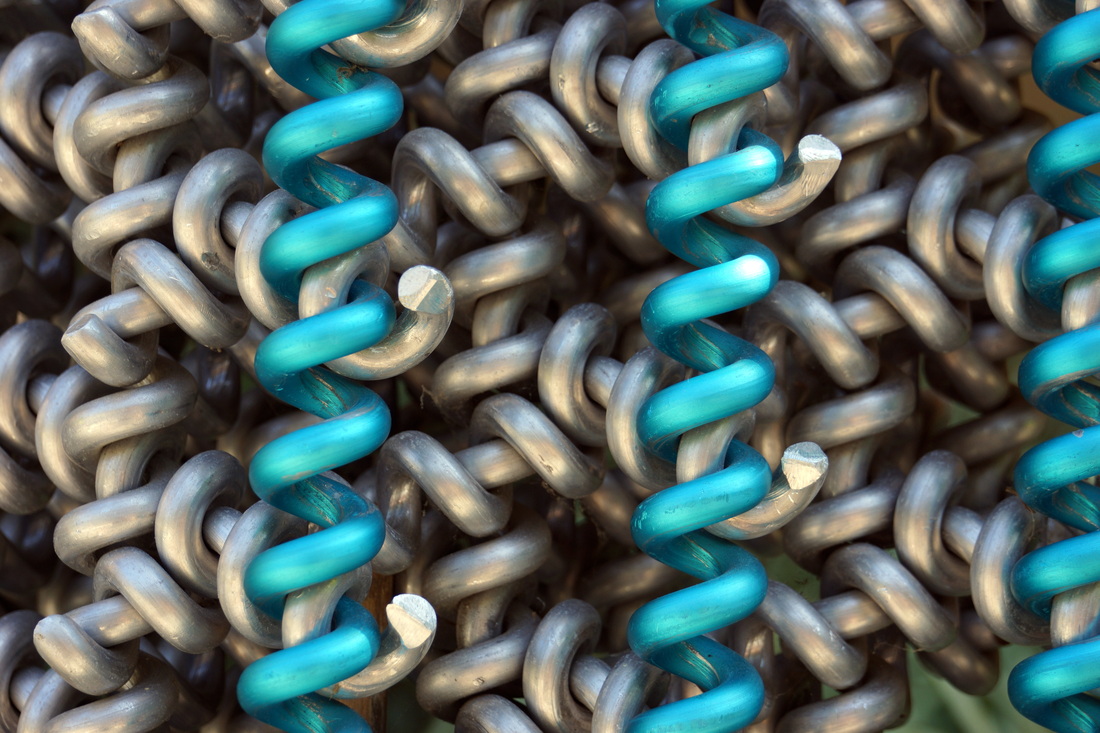
From there out it was just more of the same, except this time I used giant wooden clamps instead of tiny pliers to do the bending. The wood made a great forming surface because it did not scratch the soft aluminum, and could be lightly oiled to make the process go much smoother. The finished sculpture, below, now sits outside of our home's entrance. Four of the helices were sent to be anodized to give it some flair -- it definitely grabs attention!


