Spinning Tops: They Never Get Old!
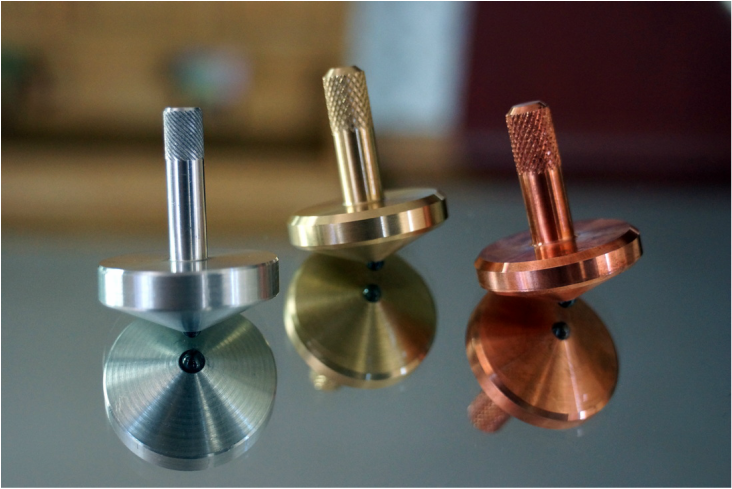
Goal: create the ultimate spinning top -- one that gets at least 10 minutes on a good spin and that requires no tools to start.
Materials:
Processes:
Materials:
- Brass rod
- Carbide ball bearing (more on that later)
Processes:
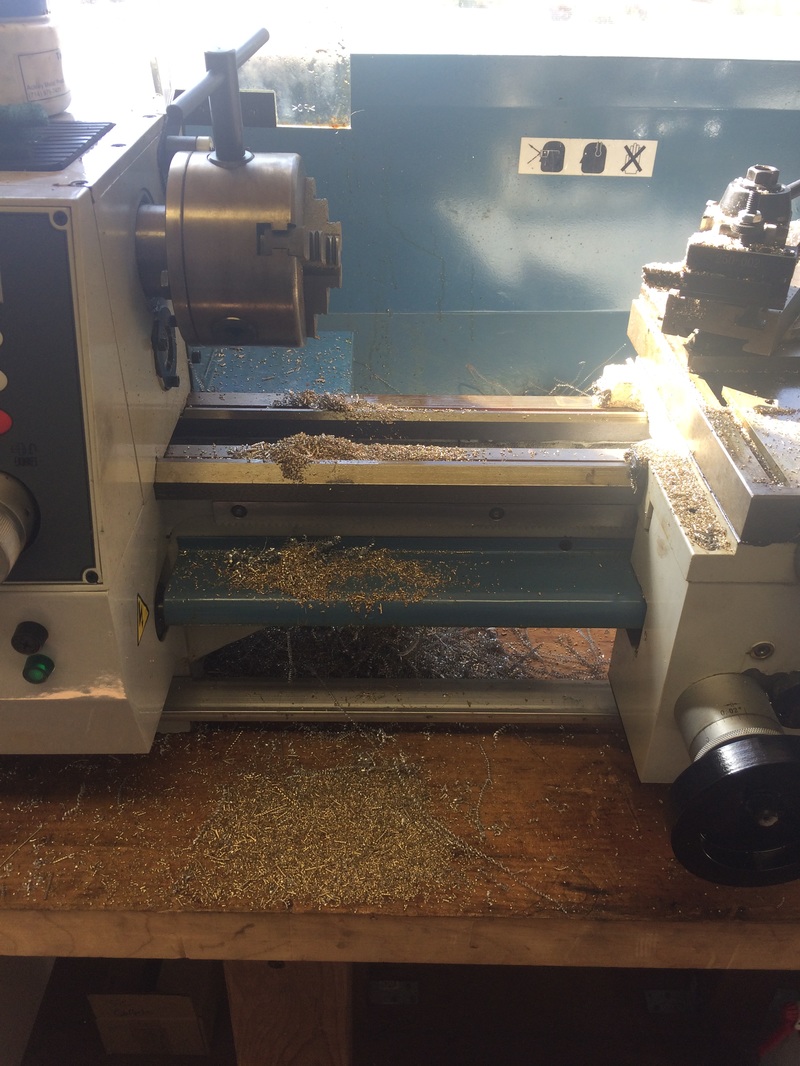
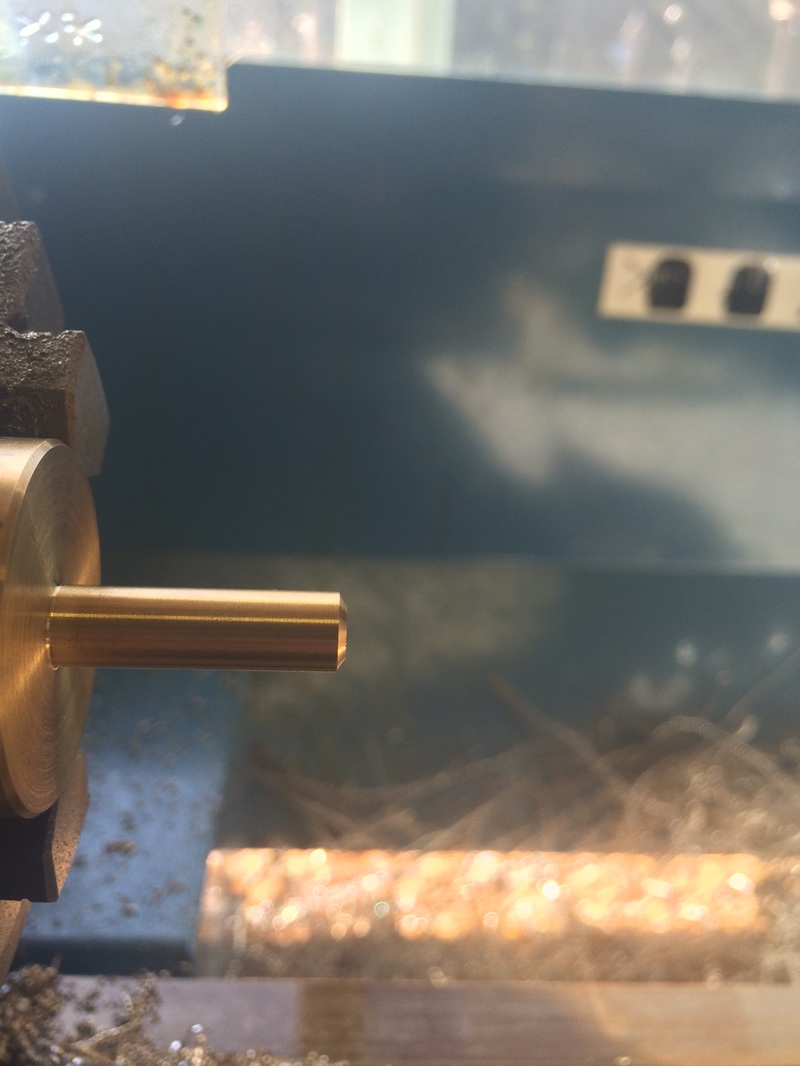
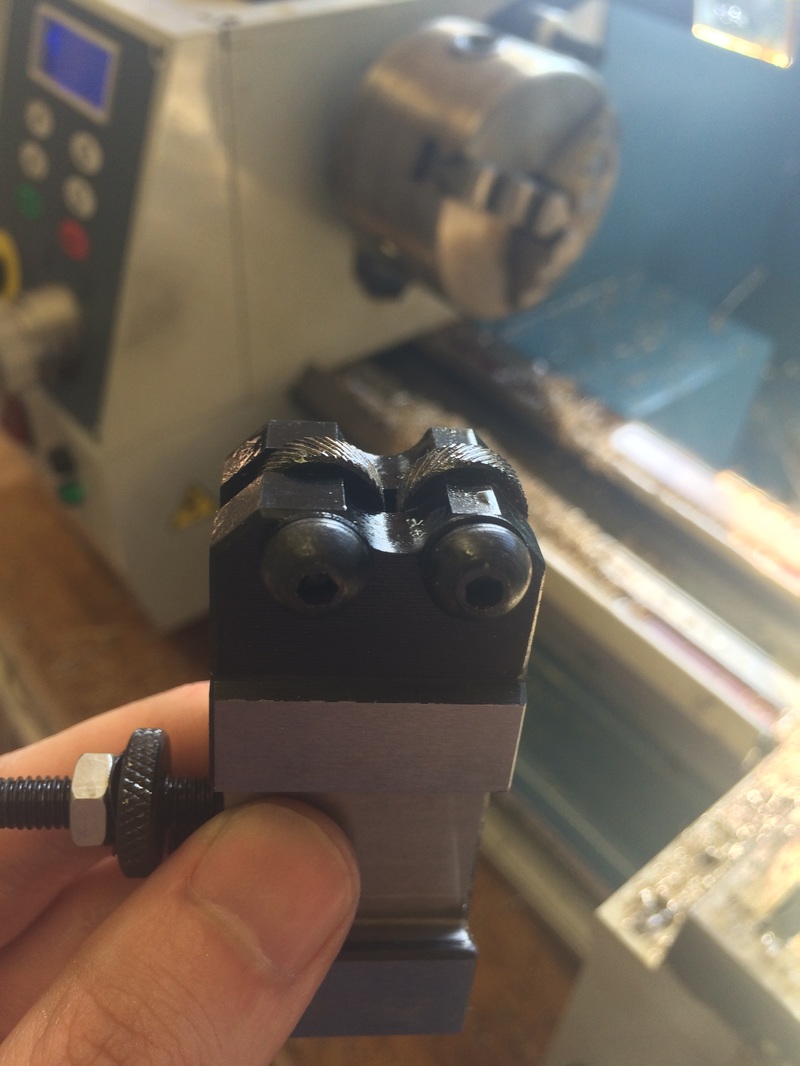
- Lathe work (turning)
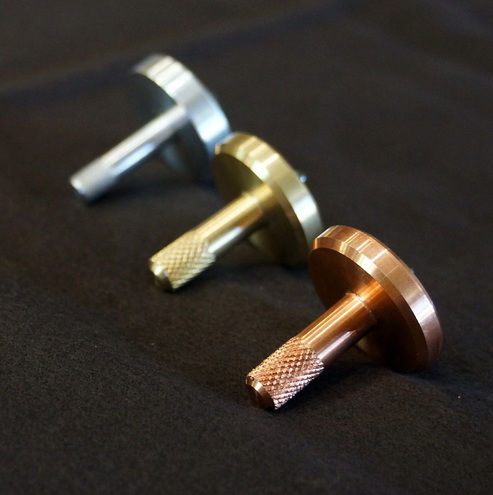
Another shot. On a hard surface, these tops will spin for 12+ minutes! The hard bearing ball on the bottom is key to that success -- with the hardest materials possible you get closest to true "point contact," which means less friction as the top spins and hence less energy loss and longer spin times.
|
|
|
Top Wars: I think this game could catch on among kids and adults alike!
the process
Now on Etsy!
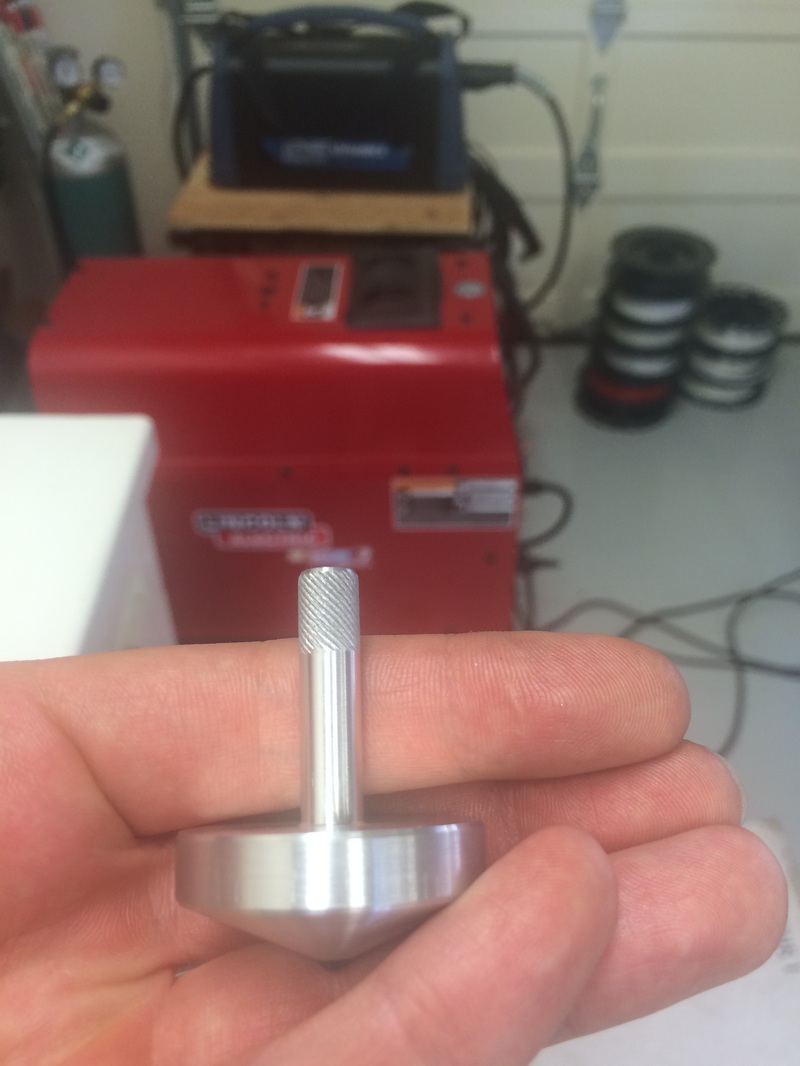
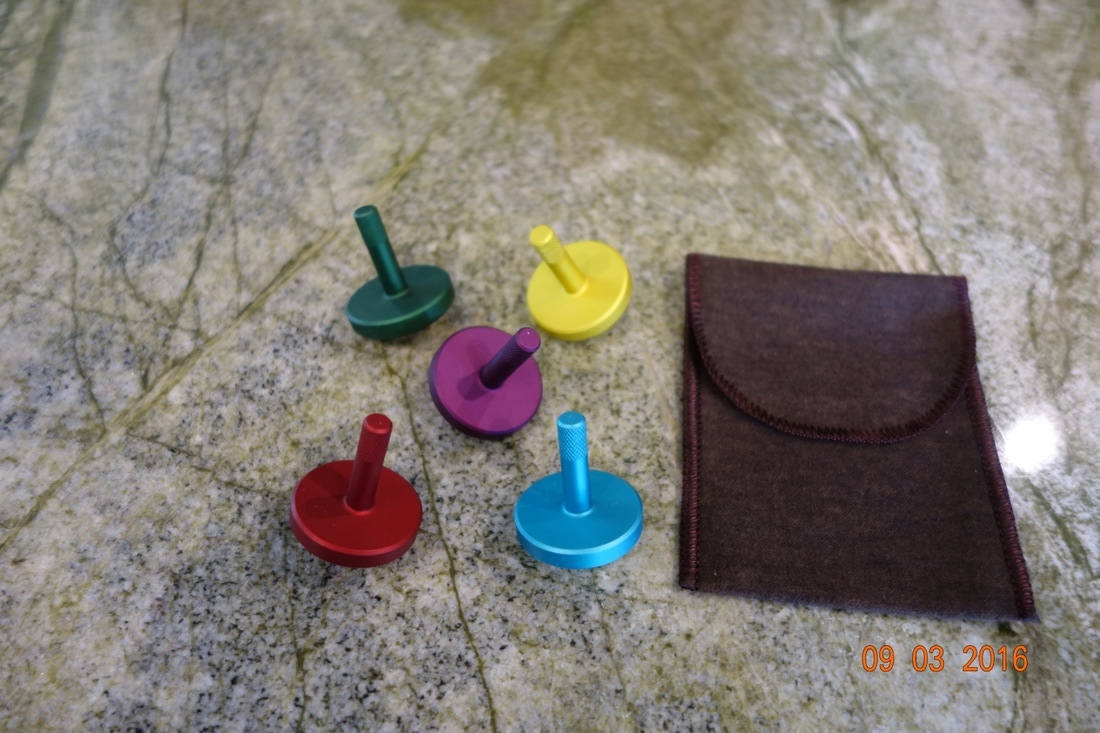
I ended up making a huge batch of anodized aluminum spinning tops (pictured below) that we've been giving to friends, playing with ourselves, and donating to charities. We're also offering a few for sale via Etsy -- please check it out if you're interested here!
How Big of a Spinning Top Can We Make?
My mom loves spinning tops -- this whole endeavor was inspired by her! For her latest birthday, then, there was no doubt in my mind that a huge spinning top would become her favorite gift. I just had to figure out how big I could make one.
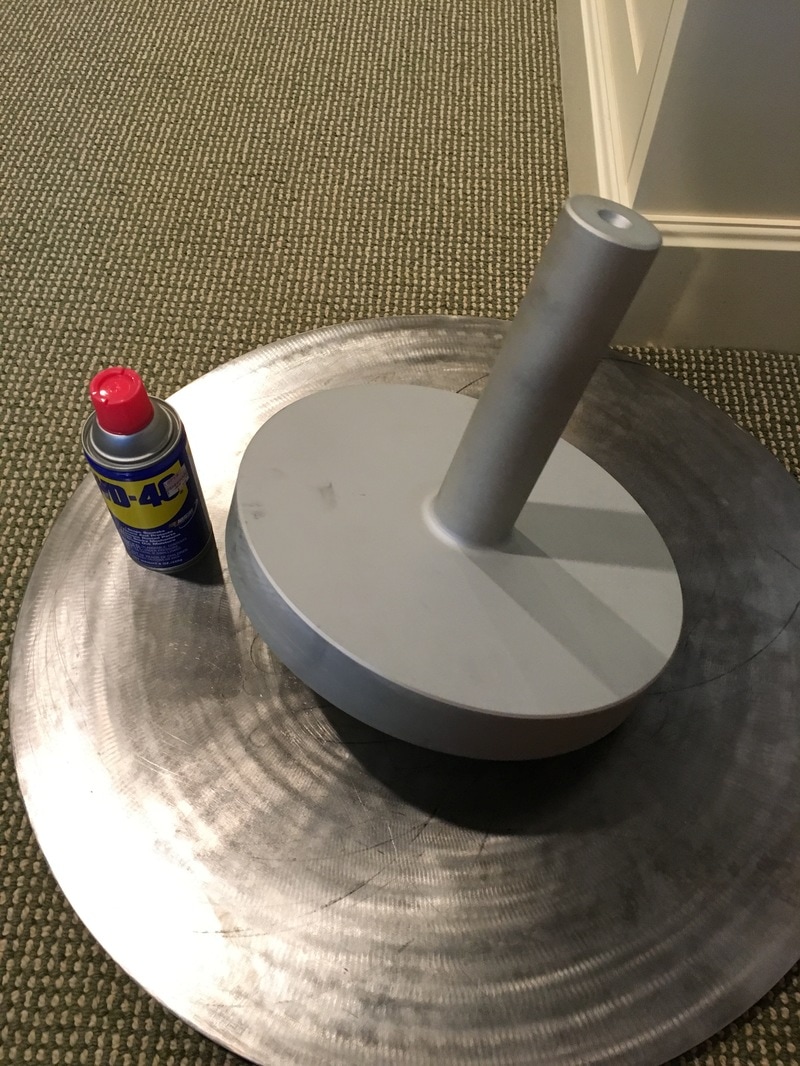
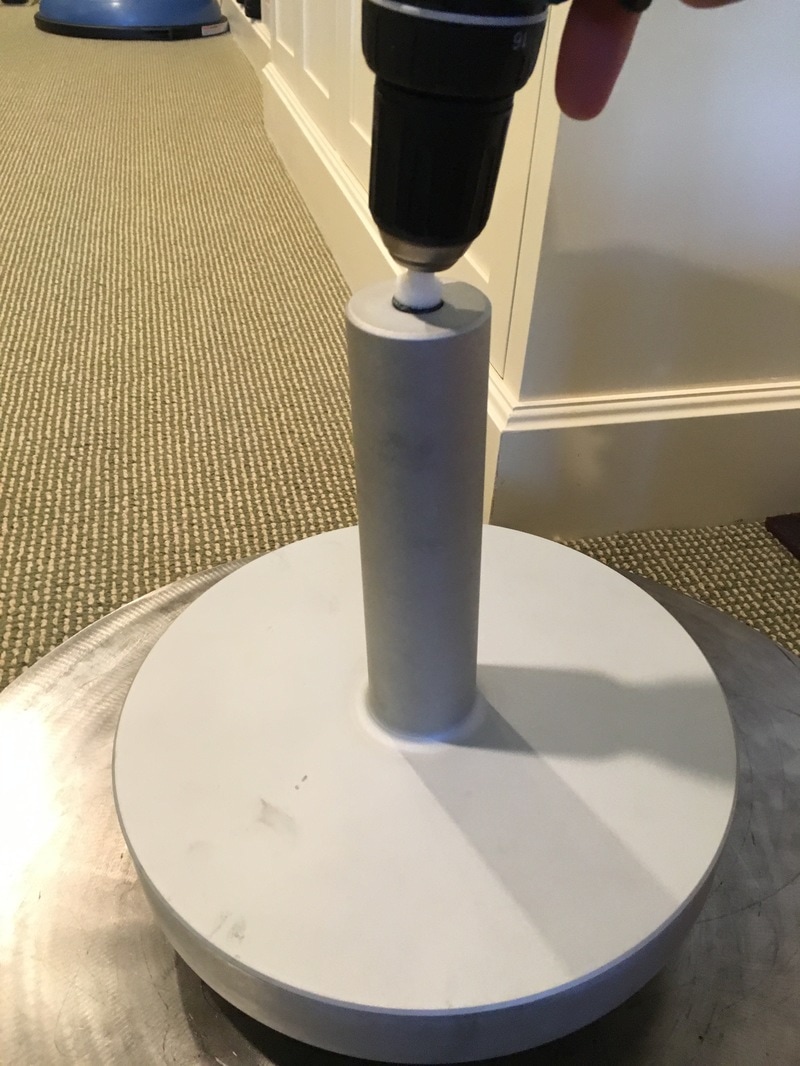
I found a piece of aluminum (shipped via freight of course) that was about 15" diameter and 2 feet long. It weighed a few hundred pounds. My friend Alex owns a local machine shop, and I quickly realized that he was my only hope of getting the top done well and on time -- I've never turned anything like that before! The project came out beautifully, especially after some light bead blasting and clear anodizing. I also had a special base made for the top, with a divot in the center to keep the top spinning on the platform instead of wandering off and destroying our entire home.
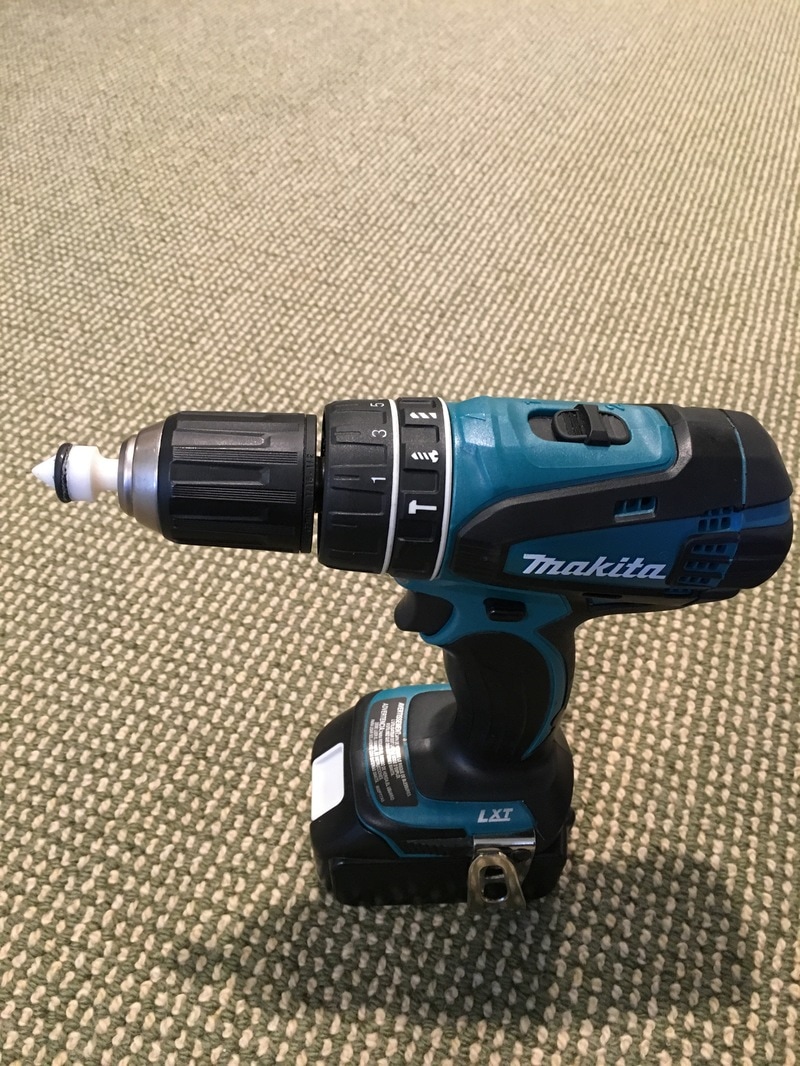
Lastly, I 3D printed a custom bit (complete with a rubber o-ring for traction) to spin the top up via power drill. Check out the pictures and videos below!
A good spin can last for 35+ minutes with this top. Below you can see a couple of videos: first at startup (spinning fast), and then the final minute of spinning as the top holds on to the little bit of energy it has left.
|
|
|
Bejeweled Tops
As discussed earlier, my mom loves tops! As her birthday comes around each year, I try to think of ways to up the ante -- it's a fun exercise! This year, with the help of some "scrap" jewelry that I was allowed to recycle, I had about 1.5 ounces of 18kt gold that I could use to make something really special.
I found a model of an air-powered top online, and modified it for the purpose: a top stem that fits a straw, scaling the rest of the model appropriately, and adding provisions for a ball bearing spinning surface. I printed the master with our wax printer at POP (a ProJet 3600W) and got to work with the investment process: spruing, investing, burnout, casting, and finishing. This time, because I was using a "synthetic" (lab made, real chemistry) ruby for the bearing, I could cast it in place (sapphires are able to handle very high temperatures without breaking down).
To my utter amazement, this casting was nearly flawless on the first try. I think that a lot of that was pure beginner's luck... and maybe some extra good luck since it was a gift for my mom! We can get spins of 5+ minutes with a straw and human air. Due to the impeller design of this top, it pushes a lot of air around and slows down quicker than you'd anticipate as a result. By spinning it up with a straw and then placing it in a vacuum environment, we were able to increase the spin time to over 13 minutes!
|
|
|

