Silver Coin: Congrats, Jeremy!
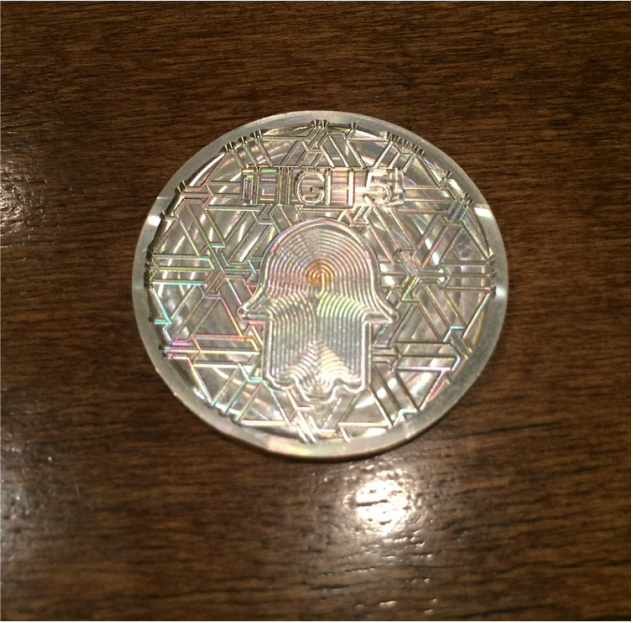
Back of coin. The hamsa represents protection from the evil eye, and the "5" refers to the names on the front -- as well as the hamsa figure.
|
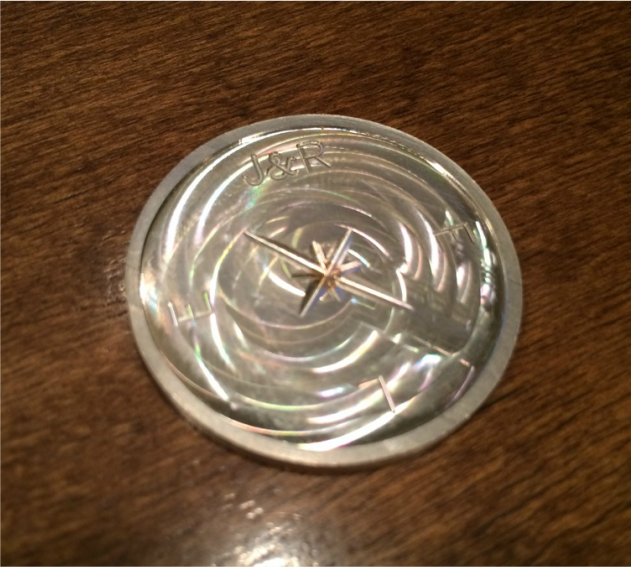
Front of coin, with initials of immediate family members. The center piece is a 14K gold inlay. The swirling pattern is a natural artifact of the toolpath used to machine the coin. I love it when that works out so well!
|
Goal: design and manufacture a coin made of silver and gold to celebrate my brother's coming marriage in September 2014.
Materials:
Processes:
Materials:
- Plate of 11 gauge fine silver
- 10 gauge 14k gold wirel
- 1/4", 1/8", and 3/64" square end mills
- 1/16" ball nose endmill for surfacing
- 45 deg single lip engraving tool
- Aluminum plate (for fixture)
Processes:
- CAD work (SolidWorks)
- CAM work (MasterCAM)
- CNC machining and fixture design
the process
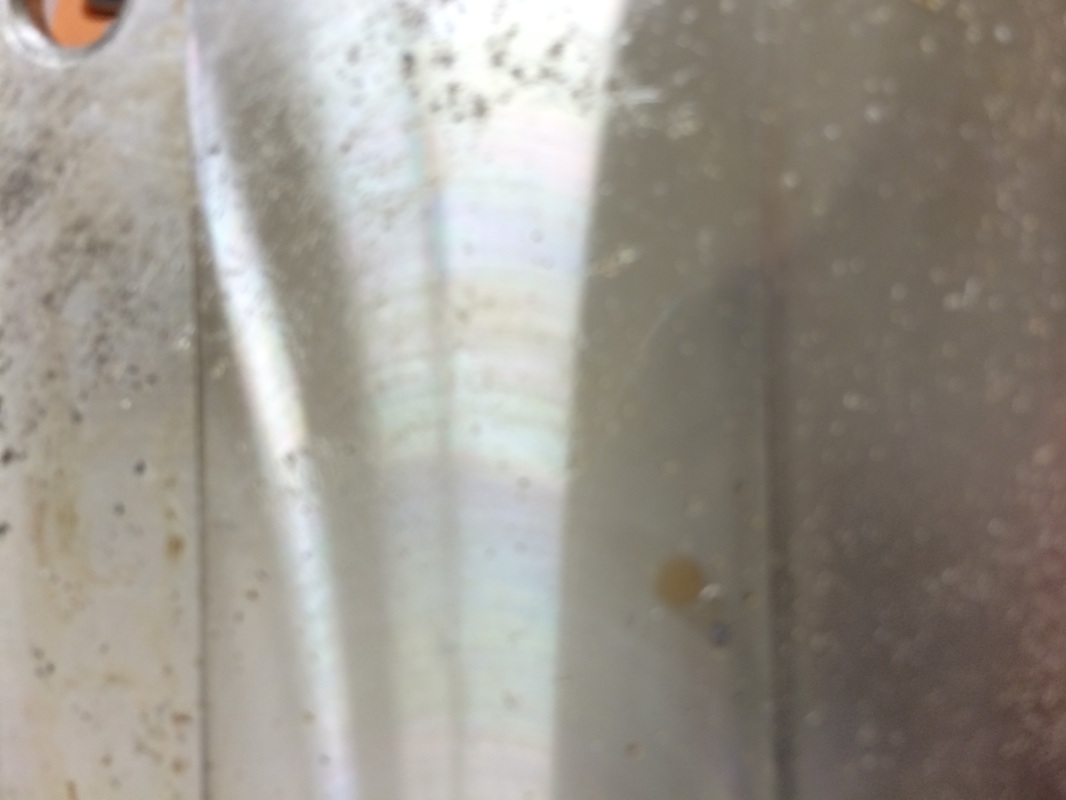
1. Inlays were created by press fitting the gold wire into a hole that I milled out of the silver sheet. Then I used a flycutter to make the surfaces flush, and used an endmill to create a reference point at the corner of the sheet. The reference point was key in making the flip possible.
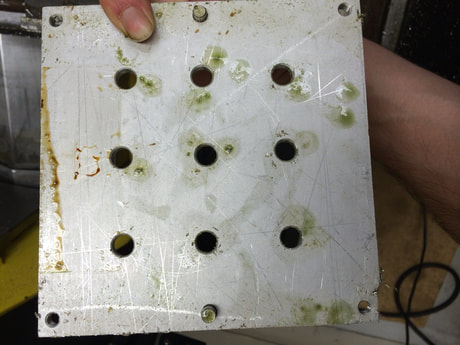
2. Fixture plate used to machine the coins.
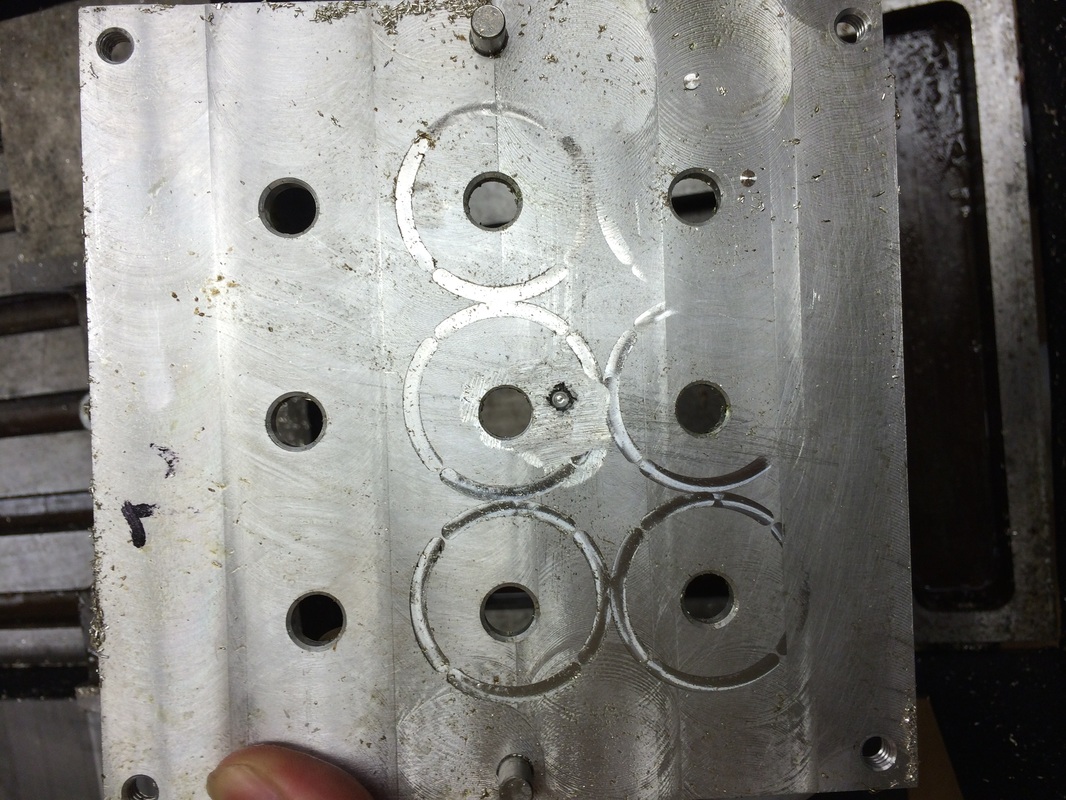
3. Fixture plate post coin-machining. The contour cuts were full depth, but I left 4 tabs in to keep the coins in place throughout the final machining step.
|
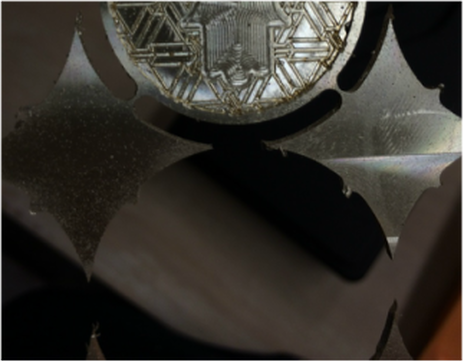
4. A closeup of the tabbing in action.
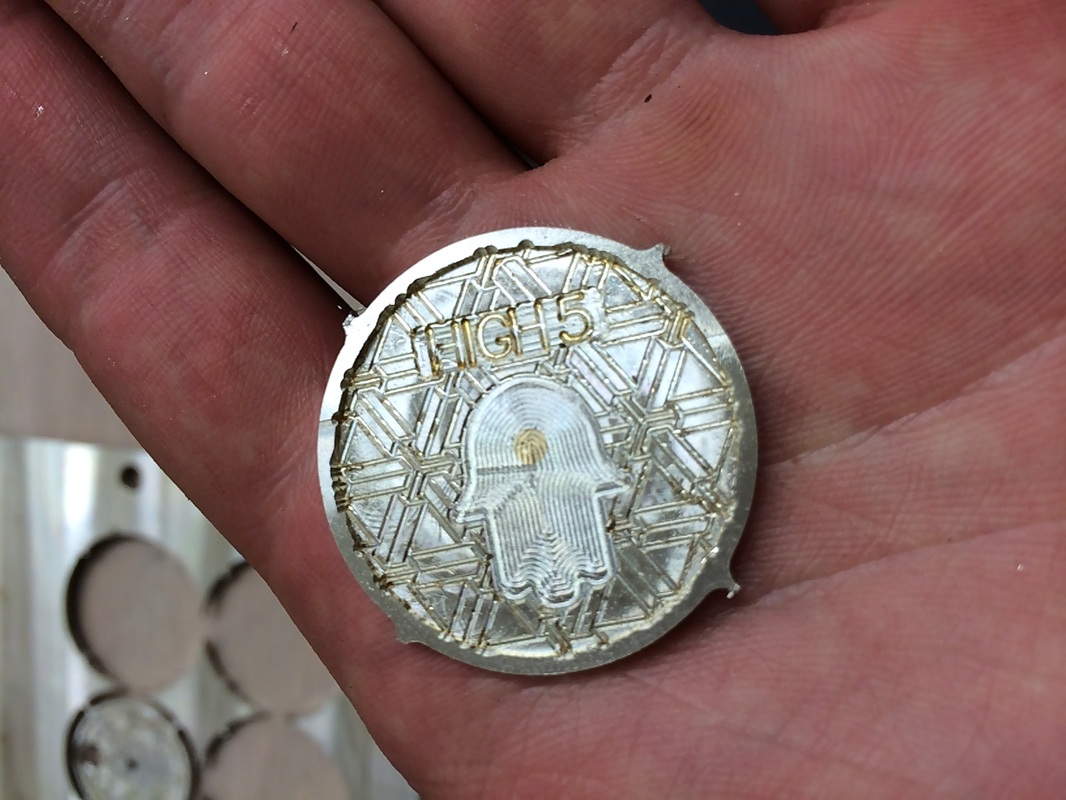
5. The front of the coin immediately after cutout (I used a Dremel tool for this operation).
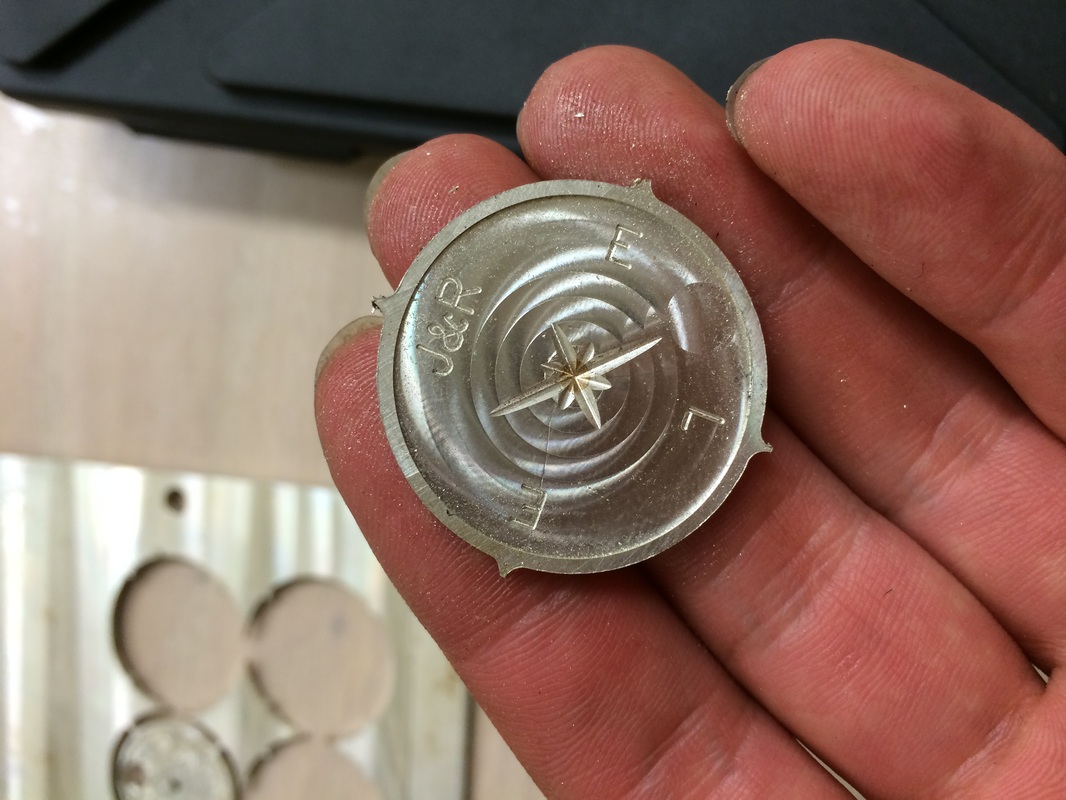
6. The back of the coin after cutout.
|