Glass Camel: Recreating Art from a Scan
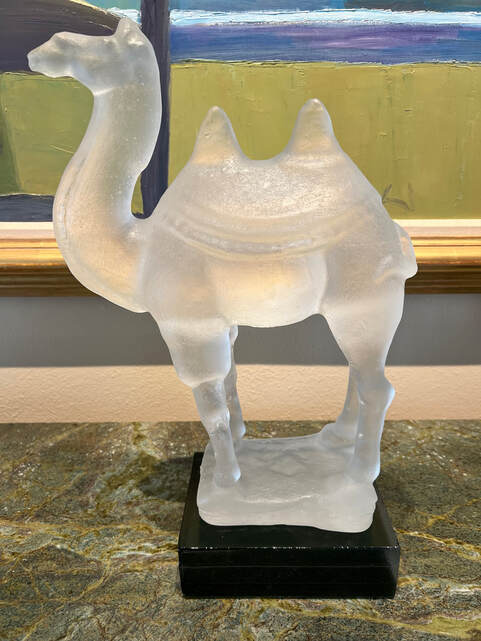
The final product.
Goal: As a gift to my parents, I wanted to re-create one of their favorite sculptures (a real antique originally made in terracotta) out of glass, using 3D scan data that I had captured years ago. The original piece was unfortunately lost in the CA forest fires (Fall 2020). Everyone, including myself, had forgotten about the scan data until I rediscovered it as I was upgrading computers -- years after the fire.
The glass casting in this project is well beyond my skill set and required the help of a professional artist. Kinto answered the call and thankfully was interested in taking this commissioned project on with me. His help and expertise is much appreciated!
Materials:
Processes:
The glass casting in this project is well beyond my skill set and required the help of a professional artist. Kinto answered the call and thankfully was interested in taking this commissioned project on with me. His help and expertise is much appreciated!
Materials:
- Strach powder
- Z810 3D printer (another antique, since decommissioned)
- Paraffin wax
- Lead crystal glass
- Giant kiln
Processes:
- 3D scanning
- CAD Work (mesh-based tools to fix/remaster raw scan)
- 3D printing
- Glass Casting (performed by outside professional)
- Cold work glass finishing (performed by outside professional)
the process
The process started with 3D scanning and retouching of the 3D model (that process wasn't recorded). Years later, when the file was re-discovered, I started to act on making the digital model into a physical one. That, of course, started with 3D printing!
It just so happened that I was in the process of trying to rescue a Z810 machine, build by the now defunct Z Corporation (they were bought by 3D systems and are the basis of their Projet fullcolor printers that use plaster powder). This Z810 was the biggest such machine ever made, but it was old and grumpy -- for example, it ran on DOS and had a hard drive with a whopping 32MB (yes, MEGAbytes) or memory. Stubbornness sometimes pays off though, and after months of fiddling, we got it working well enough for what would prove to be its final print: my camel.
Below are some quick videos of the printing and depowdering processes. The powder used in this case wasn't plaster like the more modern Z Corp based machines, but instead a fully combustible starch powder. The burnout-friendly part is very important in this case, we saved a mold making step and were able to go direct from printing to casting.
|
|
|
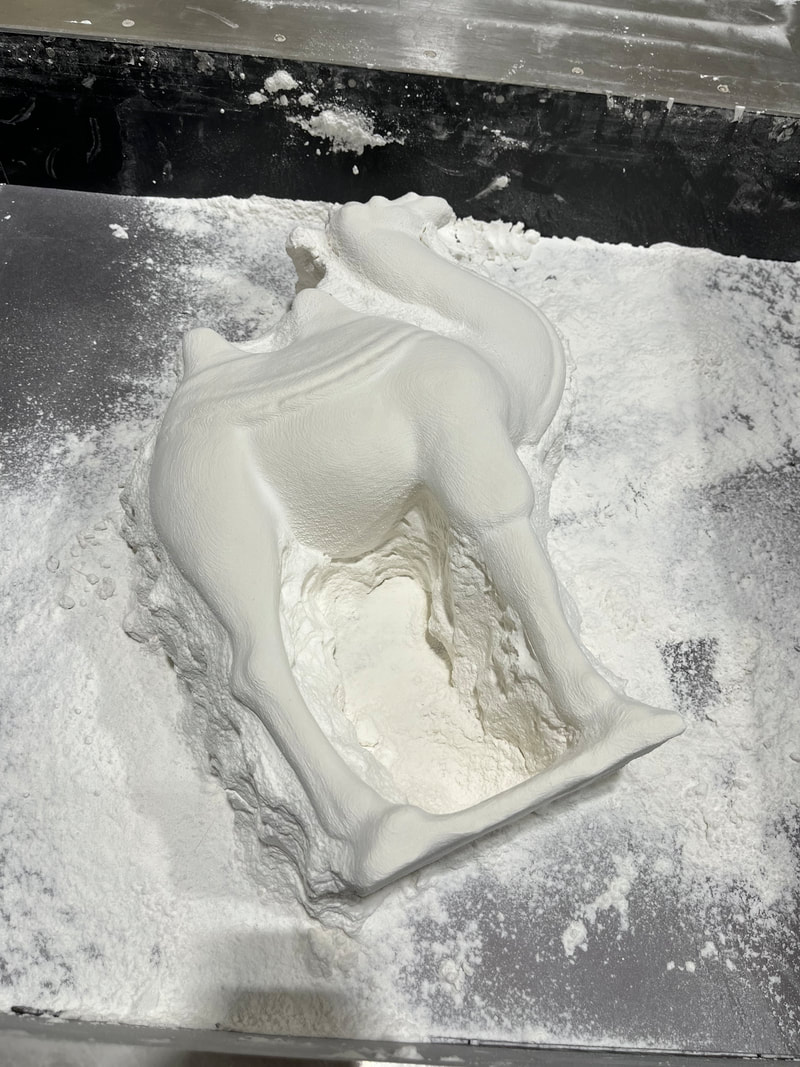
Done with the rough depowdering
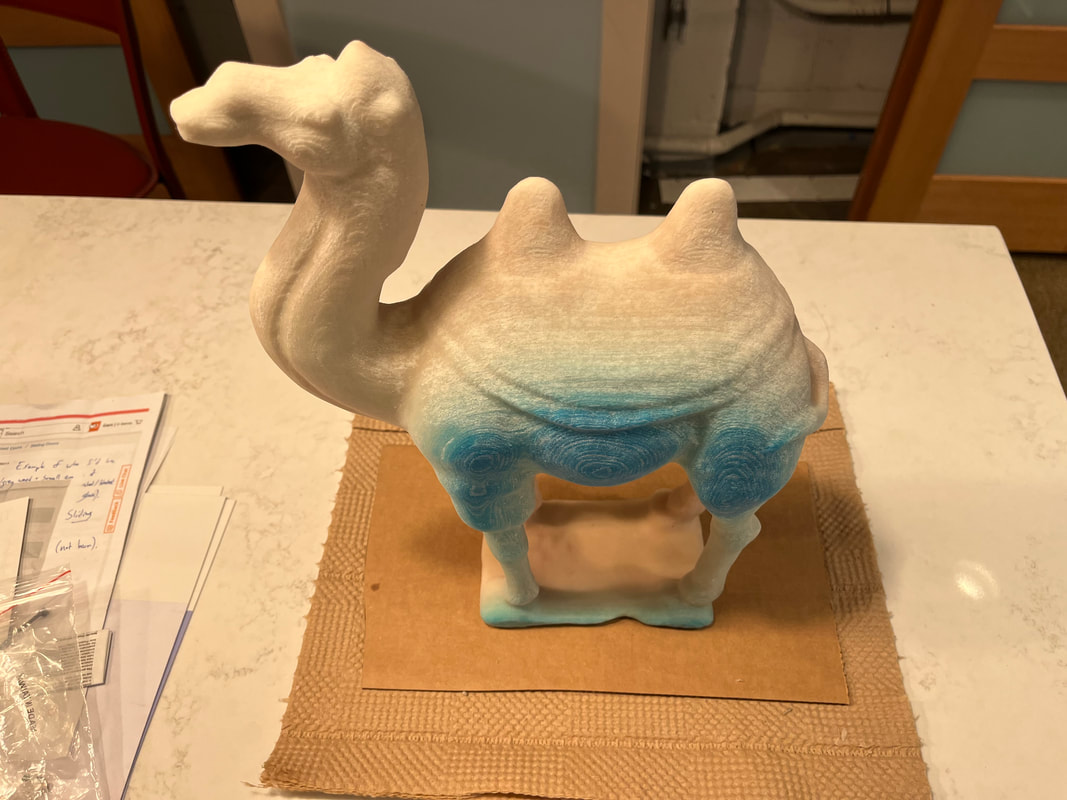
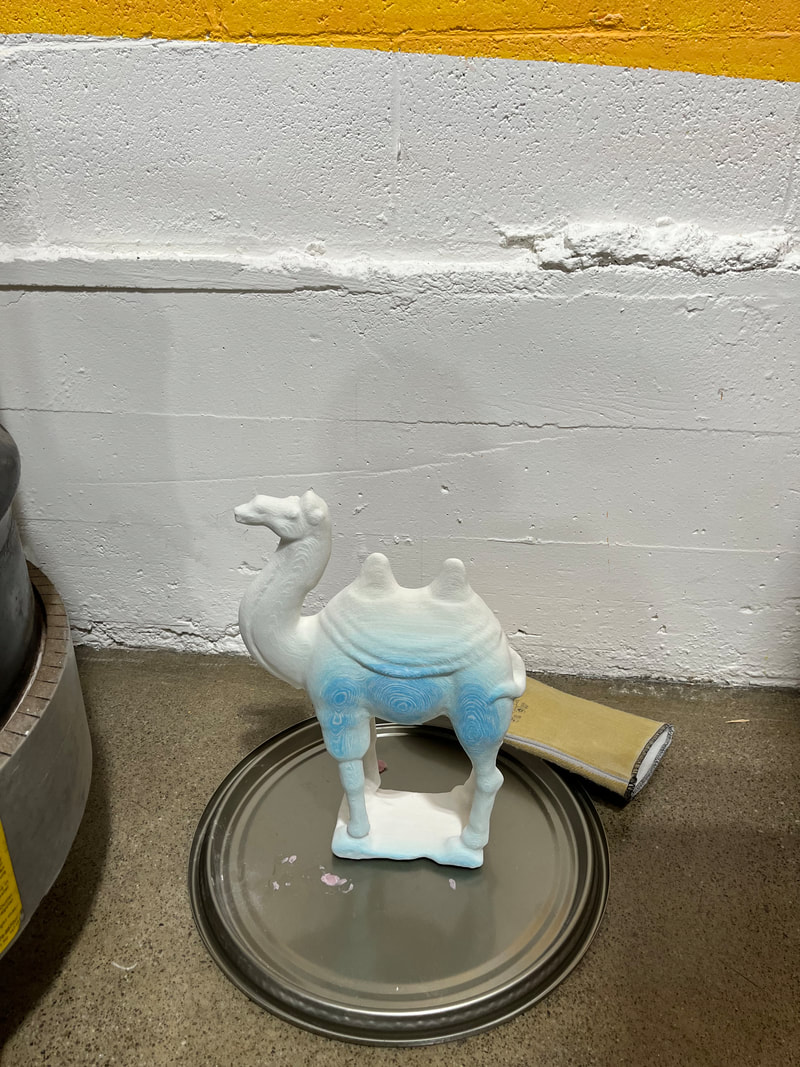
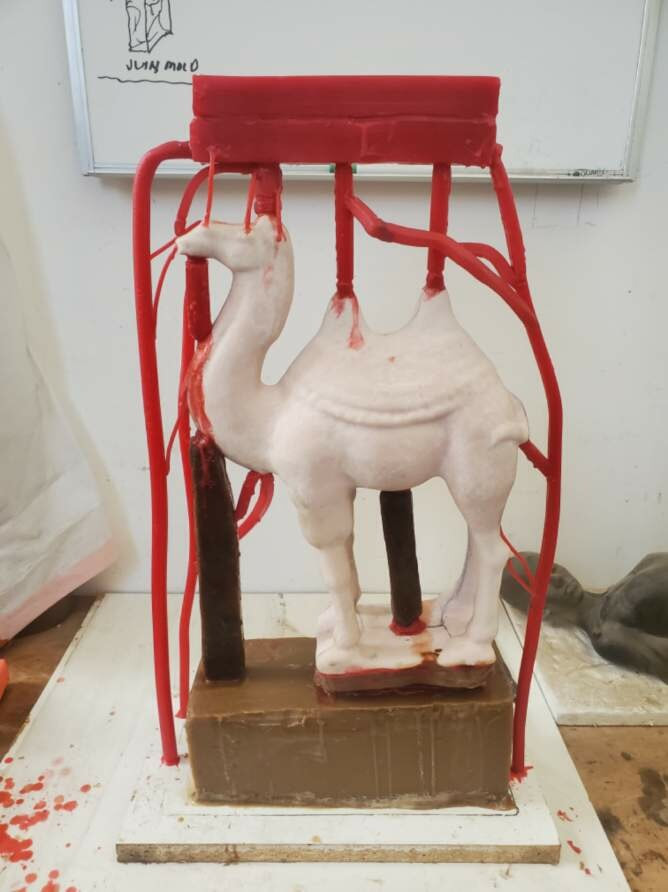
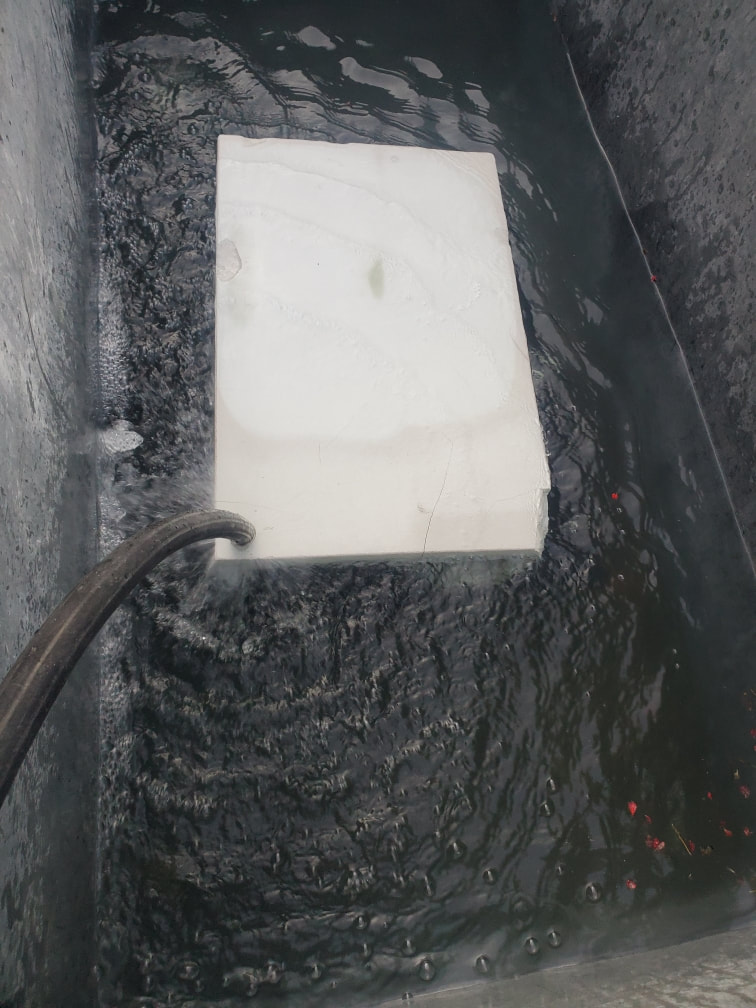
After a wax dunk! The pink color came from the recycled wax that was used. Colors don't matter as it's all about to be burned away!
|
Done with the fine powdering, and ready to be dunked in wax (at this point the model was very delicate and crumbly).
The blue shading on one side of the camel was due to residual color inks left inside of the HP printheads that are used by the machine to wet and bind the starch together during the printing process.
|
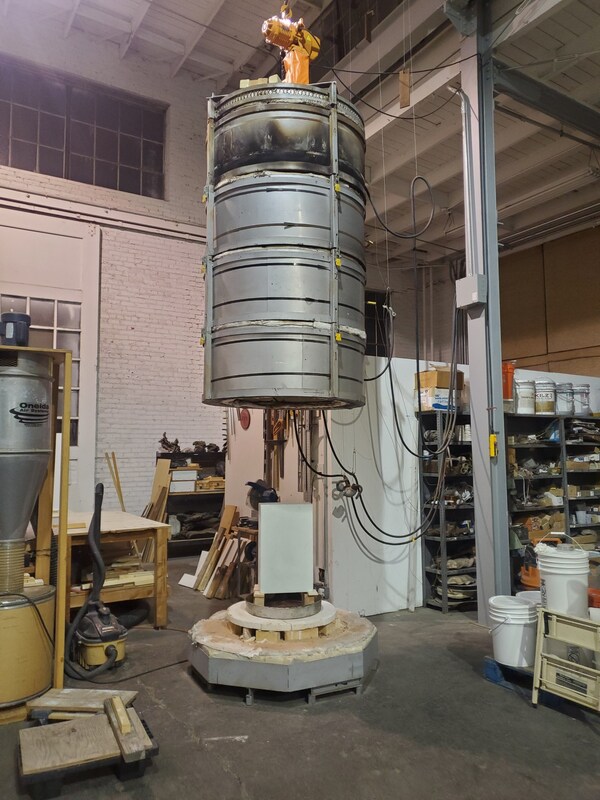
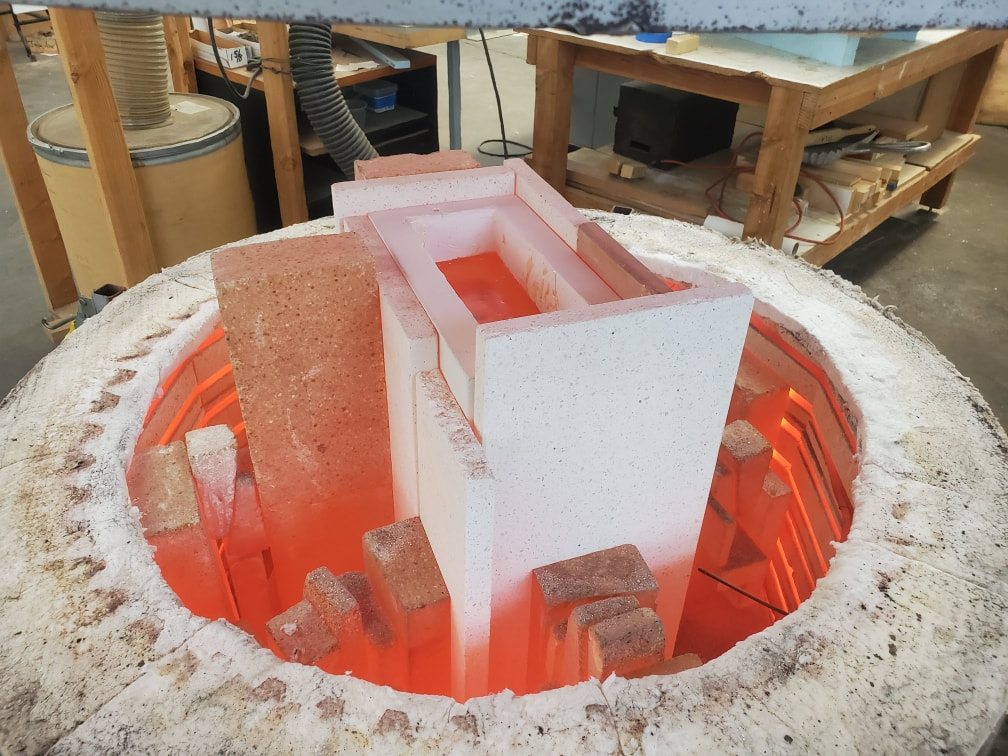
Only professionals have kilns like this -- and I was lucky enough to be working with such a person!
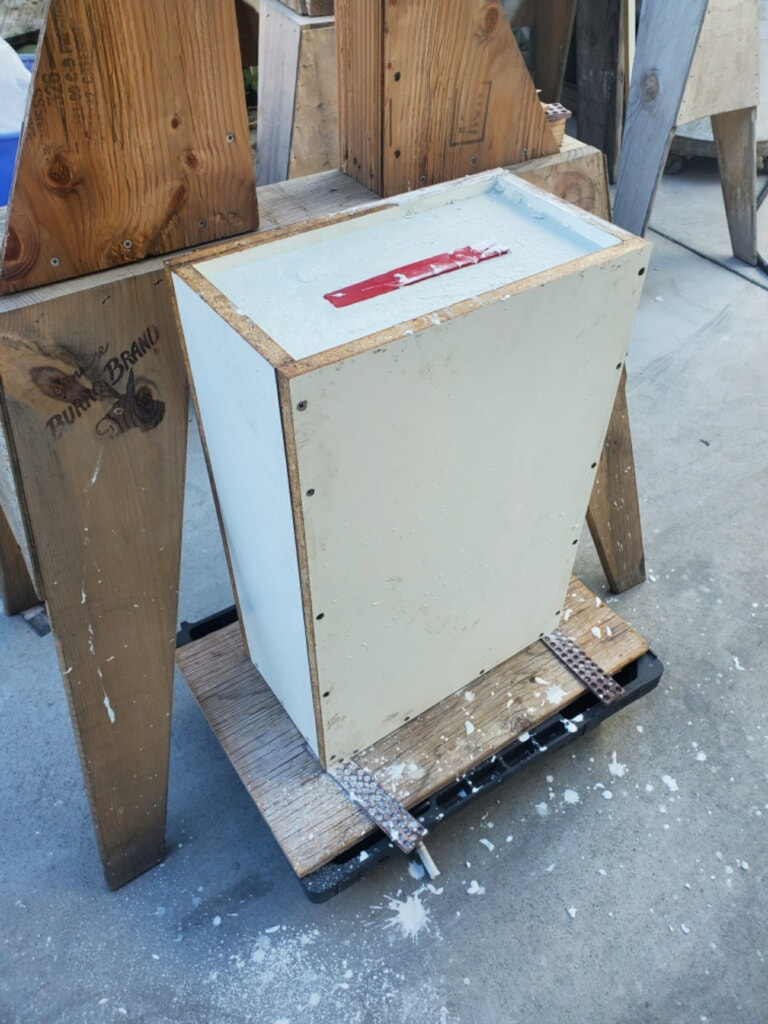
The mold was then filled with lead crystal glass, and placed back into the kiln.
|
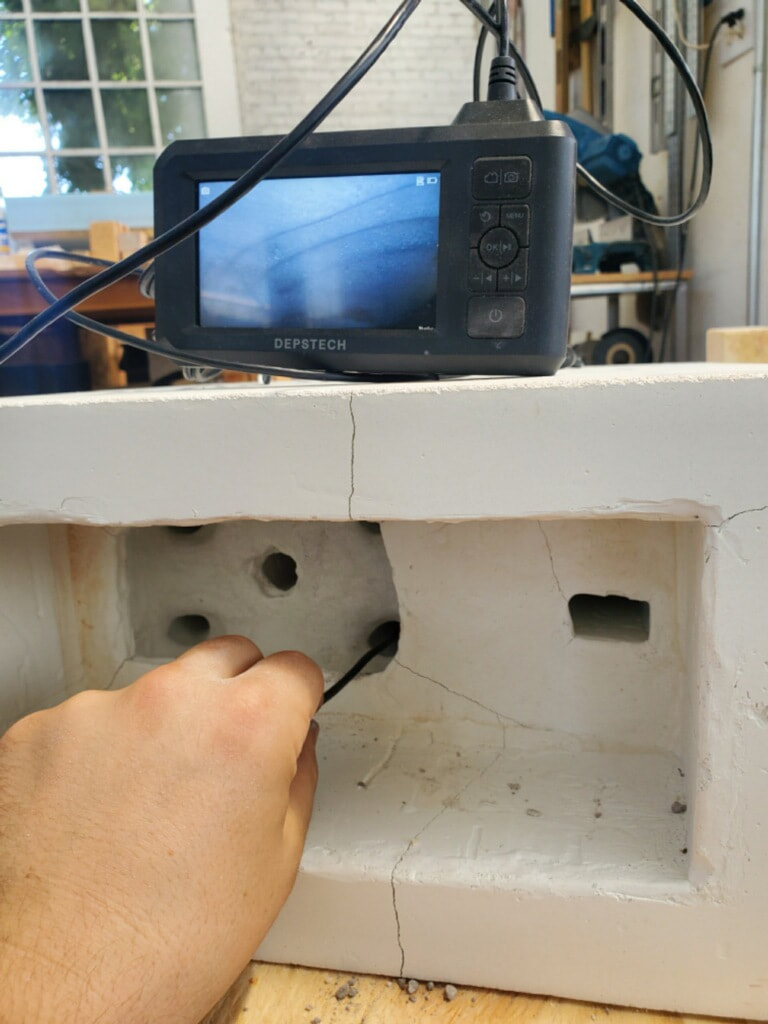
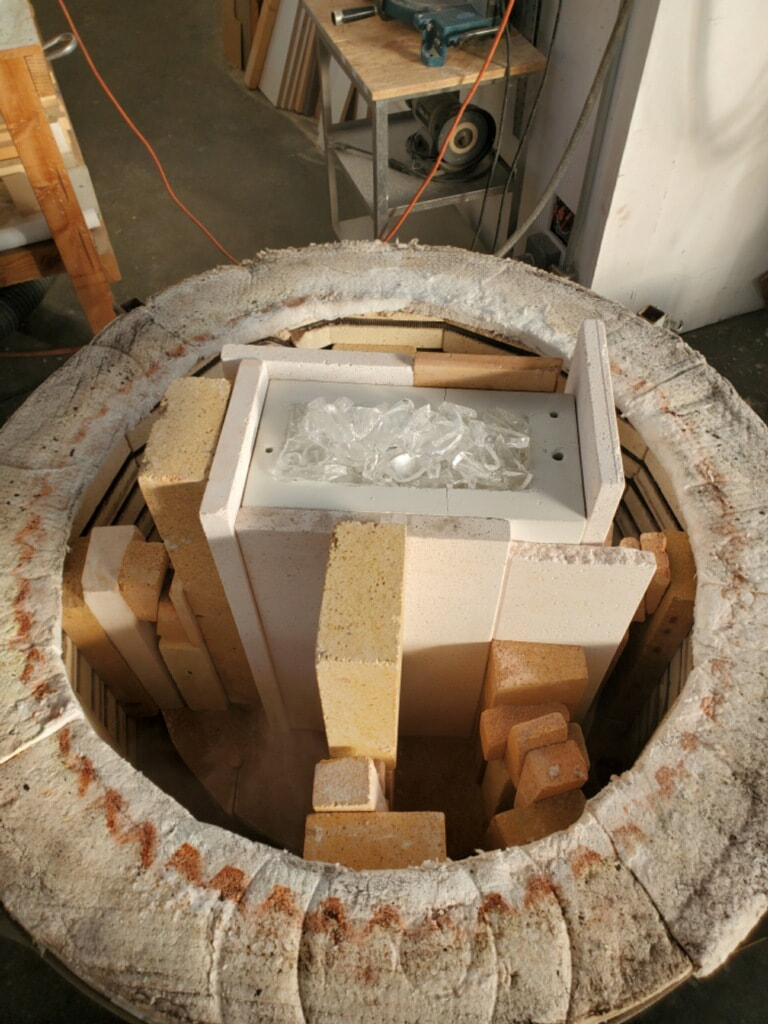
After burnout, Kinto took some time to ensure that there was no remaining ash left in the void. He found some, and removed it all.
The kiln was turned back on, and the glass was molten. It (slowly) flowed into the mold over the course of a day or two, and then was left in the kiln to slowly cool over the better part of one month. Nothing can rush glass, I learned.
|
You can imagine how excited we all were when it was time to break apart the plaster (carefully) and explose the raw glass camel!
|
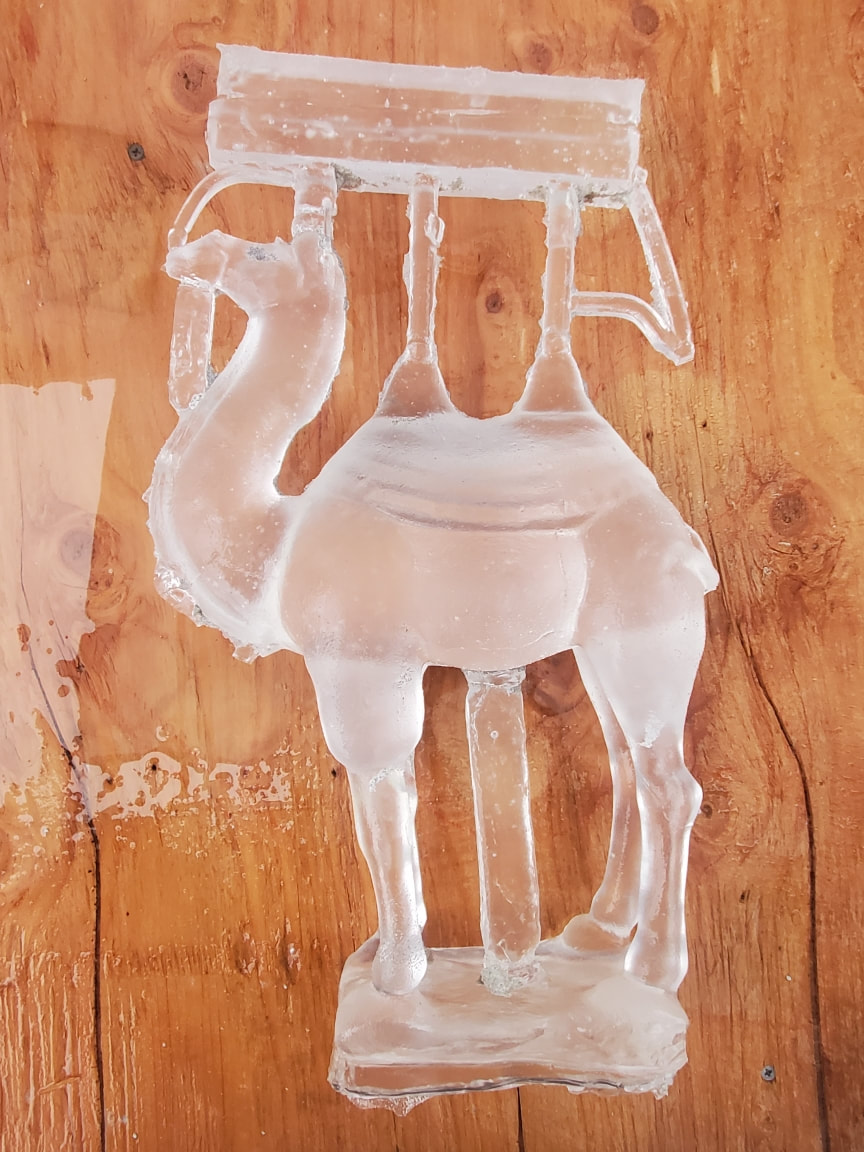
A beautiful casting -- goes to show how well Kinto and his associates know their trade! After the cast was complete, Kinto further refined the model by hand, with abrasives.
|