FrankenPuch: Building an Aluminum Puch Moped
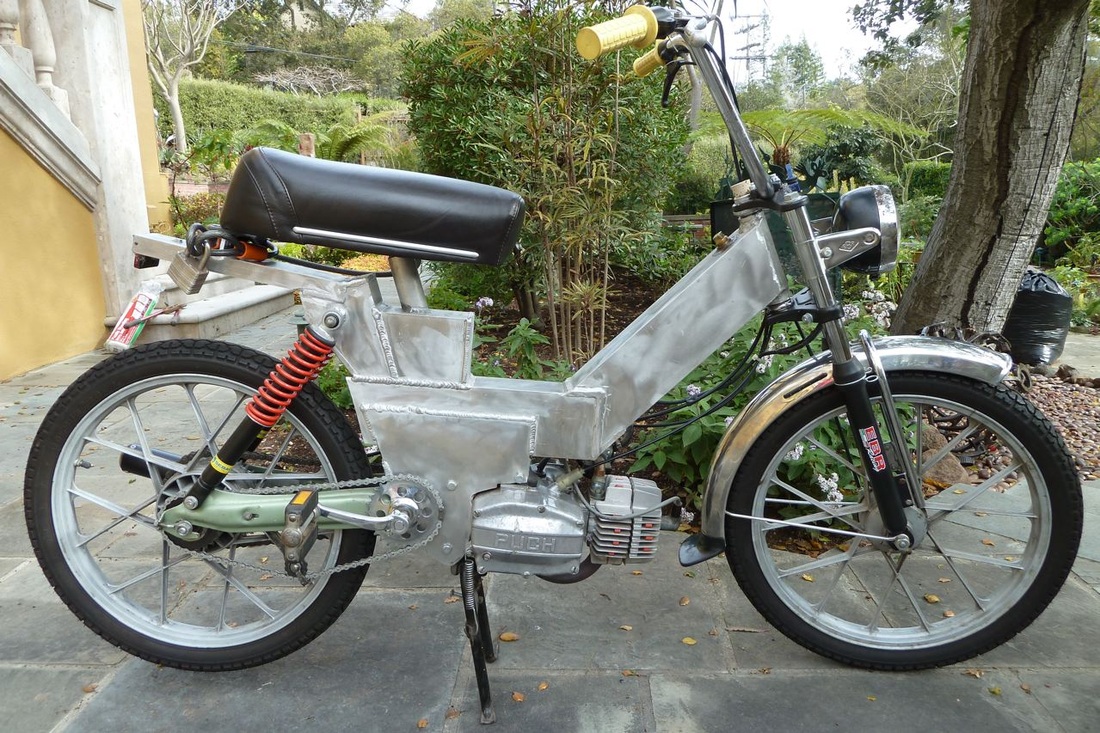
Complete bike!
Goal: re-imagine a 1980's era Austrian Puch with a handmade aluminum frame, rebuilt engine, and custom seat
Materials:
Materials:
- Old "donor" Puch from Craigslist (non functional)
- New piston, cylinder, clutch, and bearings for motor (sourced locally from treatland.tv and Bearing Agency)
- Lots of 5"x3" 1/8" wall aluminum rectangular tubing
- Other aluminum bits (head tube, 1/8" sheet for motor mounts, etc.)
- New front forks, handle grips, exhaust pipe
- Frame layout and TIG Welding
- Machining (basic lathe and mill work)
- Engine rebuild and tuning
the process
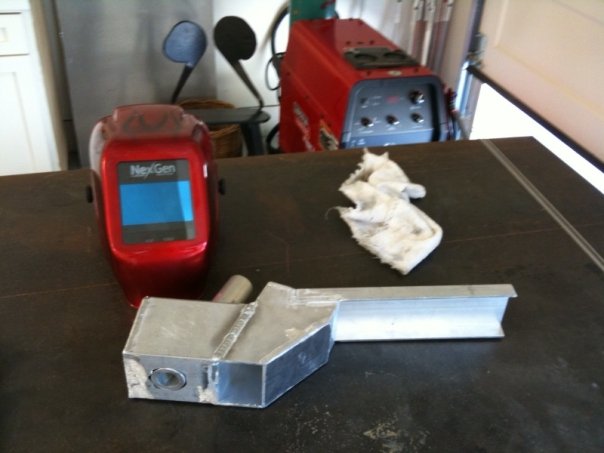
Seat tube and fender assembly.
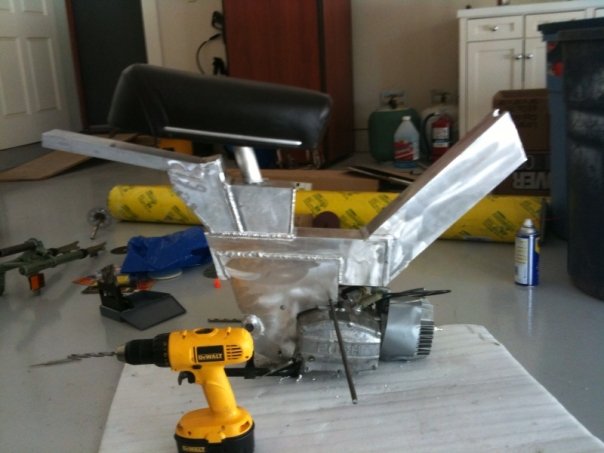
Making sure the engine fits.
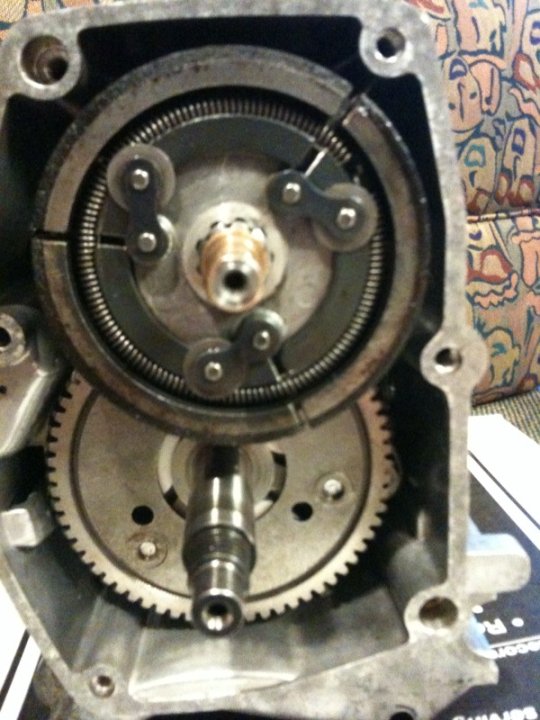
Transmission guts. This entire chamber is flooded with oil when in use.
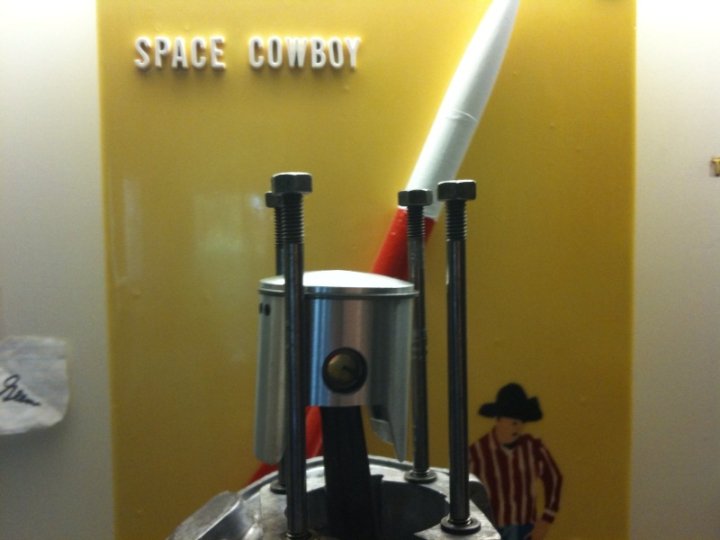
A new piston and cylinder kit was installed, increasing the engine's displacement from 50cc to 70cc and bumping its HP up to a whopping ~4HP.
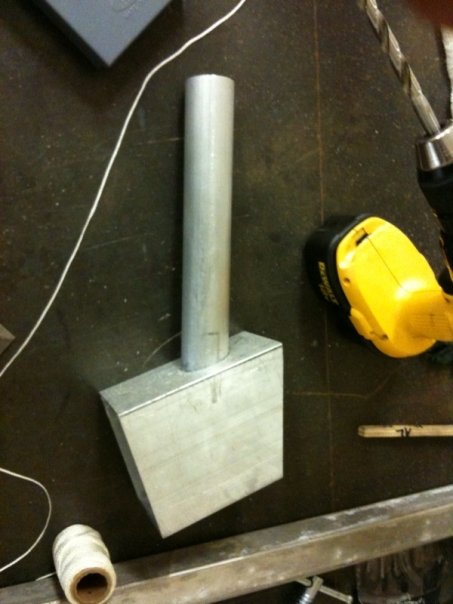
Beginnings of seat tube assembly. The difficulty of welding aluminum was more than made up for by the ease of cutting and shaping it.
|
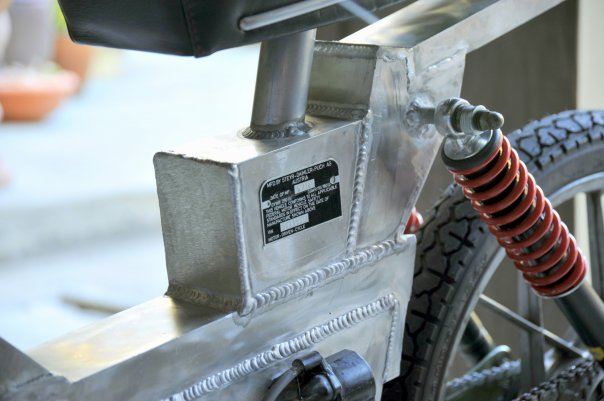
I became pretty good at TIG welding aluminum.
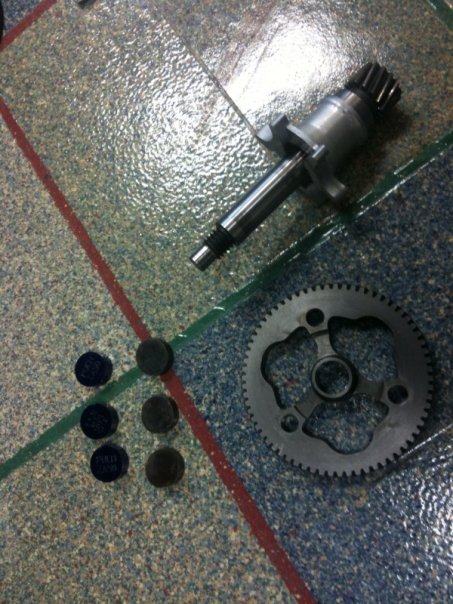
The shift "pucks" absorb the impact inherent in shifting from 1st to 2nd gear under load. The 1980's vintage ones (right) were looking pretty crusty, so I took the opportunity to replace them with ones cut from a more supple, temperature and oil resistant rubber (left).
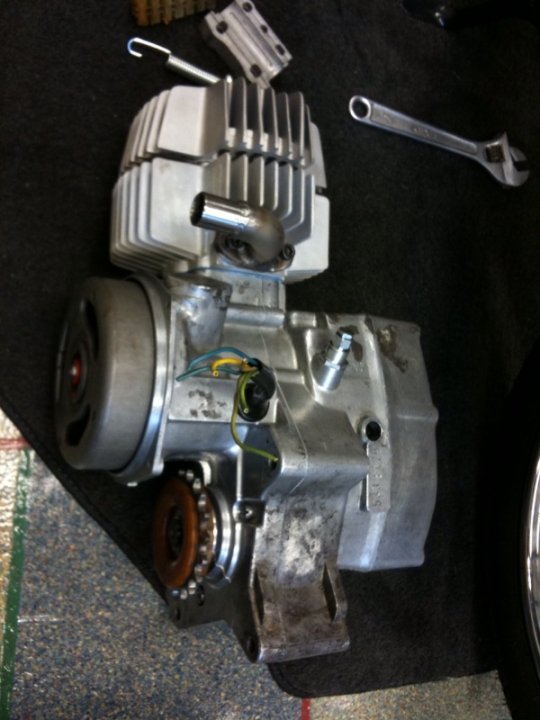
Completely rebuilt ZA-50 2-stroke, 2-speed engine.
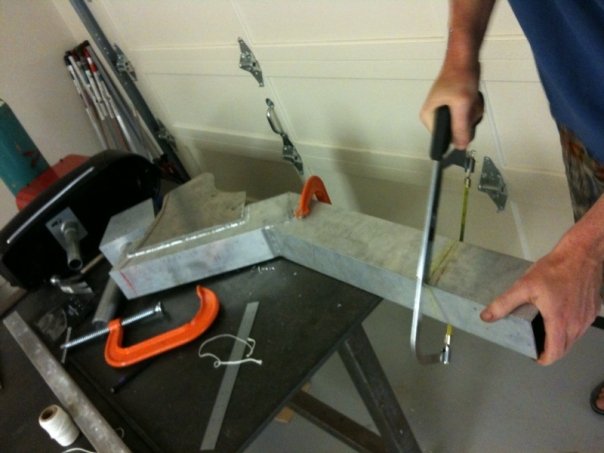
I still don't have a bandsaw... got plenty of exercise!

Stator side. Old timing "points" were giving me problems, so I replaced them and re-adjusted engine timing through trial and error.
|