Champagne Sabers: How You're Supposed to Open the Bubbly
OK, so I admit: the photo below is not how you're supposed to open champagne. In fact, that tragic event during the summer of 2014 cost me both my self-confidence as a saberer as well as part of my right thumb knuckle. At least I didn't miss my brother's wedding night, however: the stitches waited until 2:00AM the following morning, and have healed up quite nicely since.
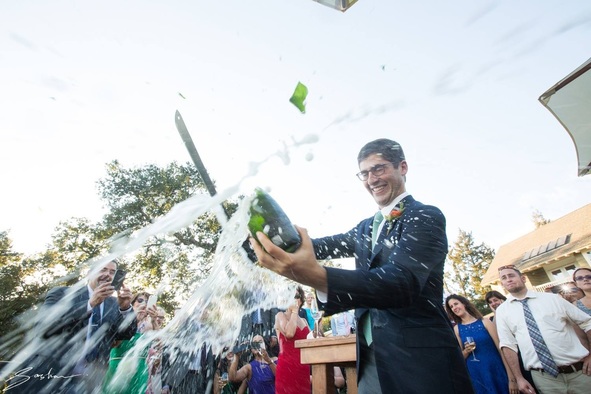
Not my finest moment (or face).
|
A better go at it!
|
The basic premise of champagne sabering is pretty simple. By sliding a blunt blade along the surface of the champagne bottle and striking the ledge on the neck where the cage was anchored, a crack is propagated around the inside corner of that ledge. Once that crack completes its full voyage around the neck, the top ring of the champagne bottle (with the cork trapped inside of it) is free to leap off the rest of the bottle under the pressure of the contents within. That same puff of pressure and foam also serves to ensure that any glass particulate freed during the strike cannot make its way into the stuff that you're about to drink -- if there were any if would all naturally be pushed out. Here's a video of how it should look (please trust me, that's usually how mine work too)!
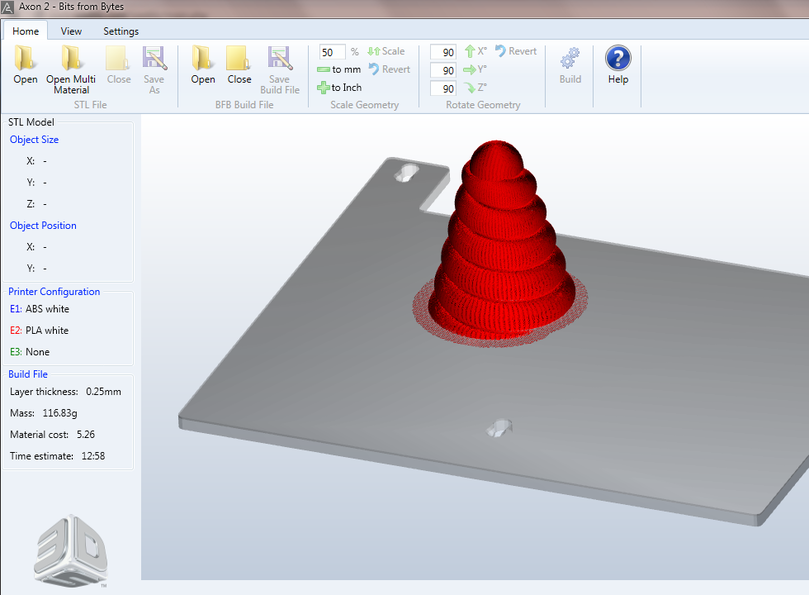
Printing ice cream.... made of PLA.
|
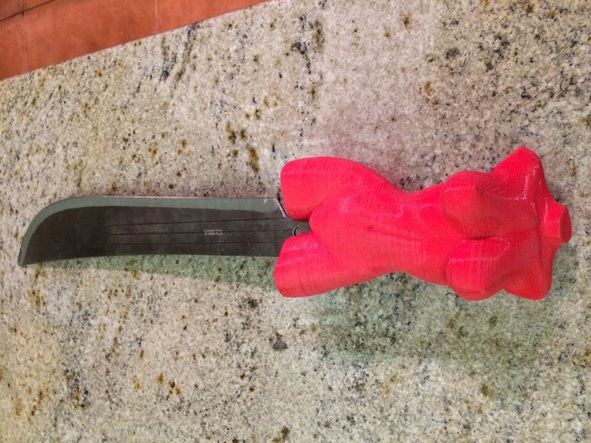
I've made many champagne sabers over the past couple of years, but it all started with my very own "Capt. Schneider's Bubble Liberator," a saber with a 3D printed handle that was playfully shaped like a giant cone of soft-serve. That saber was printed on my 3D Touch machine in PLA; you can see the build file for the swirl portion to the left. The object was printed in two pieces and then glued together using a heavy dose of gap-filling CA glue and "kicker" to accelerate the process. The opening for the tang of the machete ran about 3.5 inches into the cone portion of the handle, and was filled with more CA glue (in addition to being designed to be a very snug fit with the blade in the first place) to keep things secure.
The blade was sourced from a cheap machete found on Amazon, and I drilled a few holes and scuffed up the tang portion of the blade prior to gluing to ensure that it would never come flying out of the handle during a swing. Finally, and most importantly, the handle was painted with model paint to bring it to life. A red zip tie completed the "cherry on top" and we called it done. This saber continues to be used by the Schneider men on a monthly basis! |
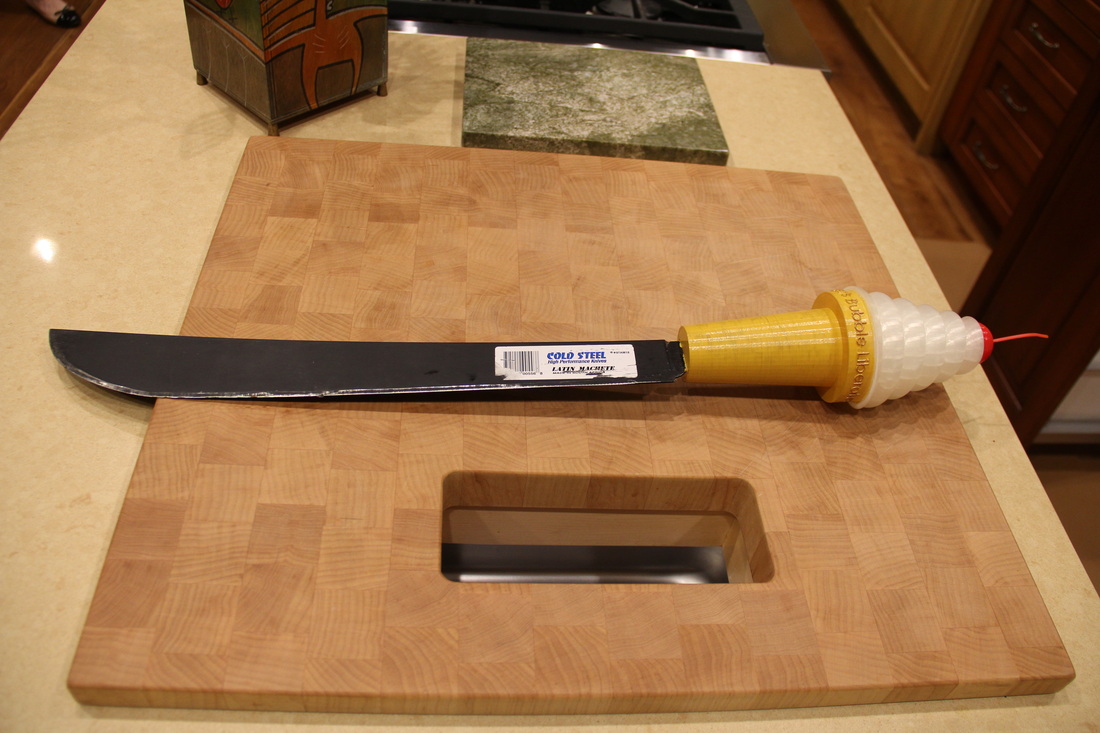
The finished product.
|
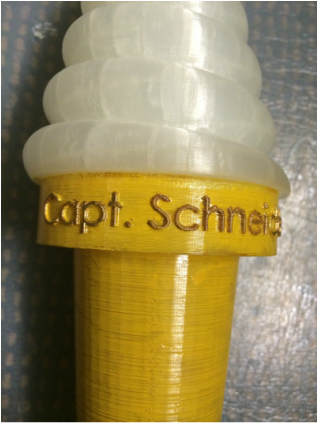
For Schneider use only!
|
This fish saber was commissioned by a dear friend as a gift to her friend, who's last name happened to be "Fish." Funny, right?
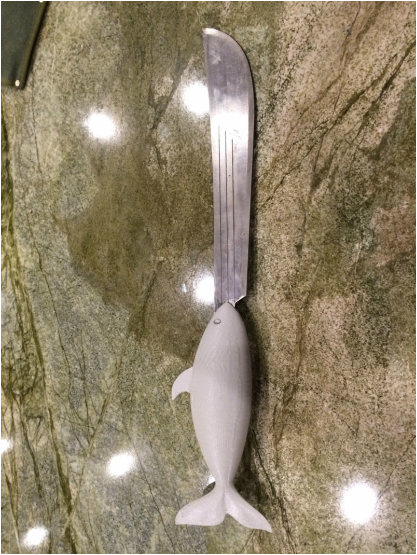
Fish saber!
|

The fin actually provides for a nice grip. I won't pretend that I knew that would happen.
|
|
Finally, for the bad boys out there -- this one was made for my buddy out in SF who had recently moved into his new "bachelor pad" and needed some decorations. I recommended against hanging this over his bed (earthquake safety) but somehow I doubt that he listened.
|
Do sexy champagne sabers attract sexy women? Ask Fred, the experiment is ongoing!
|