
Caviar Czar: a Crazy Caviar Dish (That's Usually Empty)
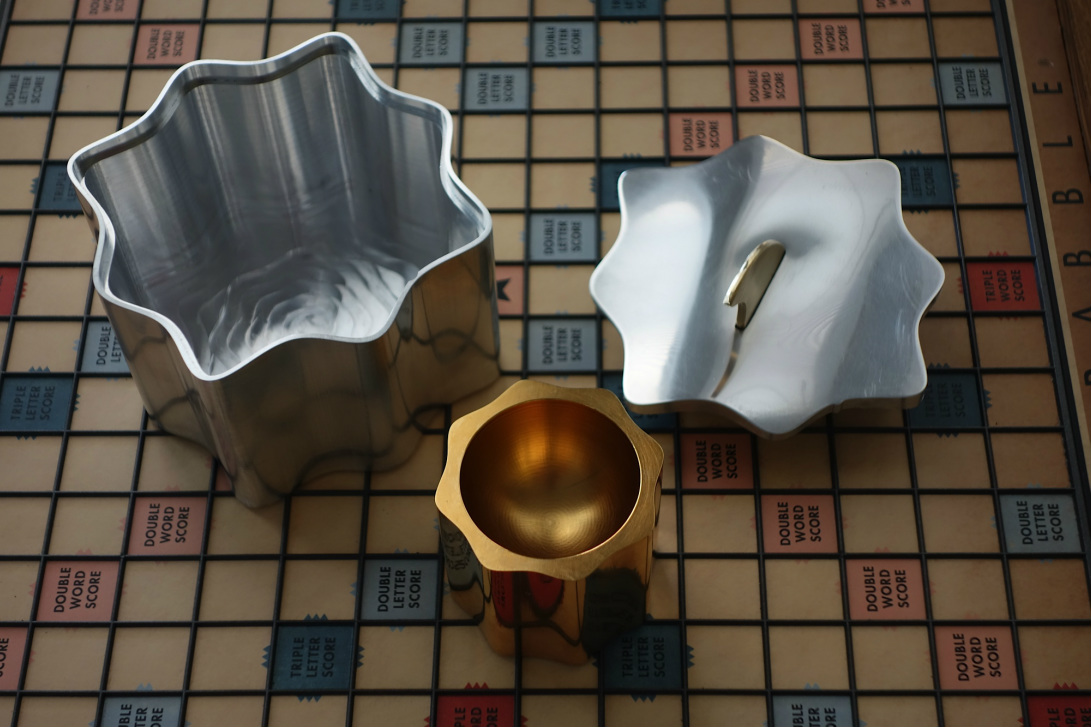
Goal: design and build an elegant, functional caviar dish that can be CNC machined. Fun fact: the surfaces in contact with the caviar are coated with a non-reactive surface (24k gold) to avoid affecting the flavor of the caviar.
Materials:
Processes:
Materials:
- Giant block of aluminum (6061)
- Tapered shank extended reach 1/2" square endmill
- Various other square end mills
- 3/8" ball nose endmill for surfacing
Processes:
- CAD work (SolidWorks)
- CAM work (GIBBSCAM)
- CNC machining and fixture design
- Gold plating – thank you Hy-Tec Plating!
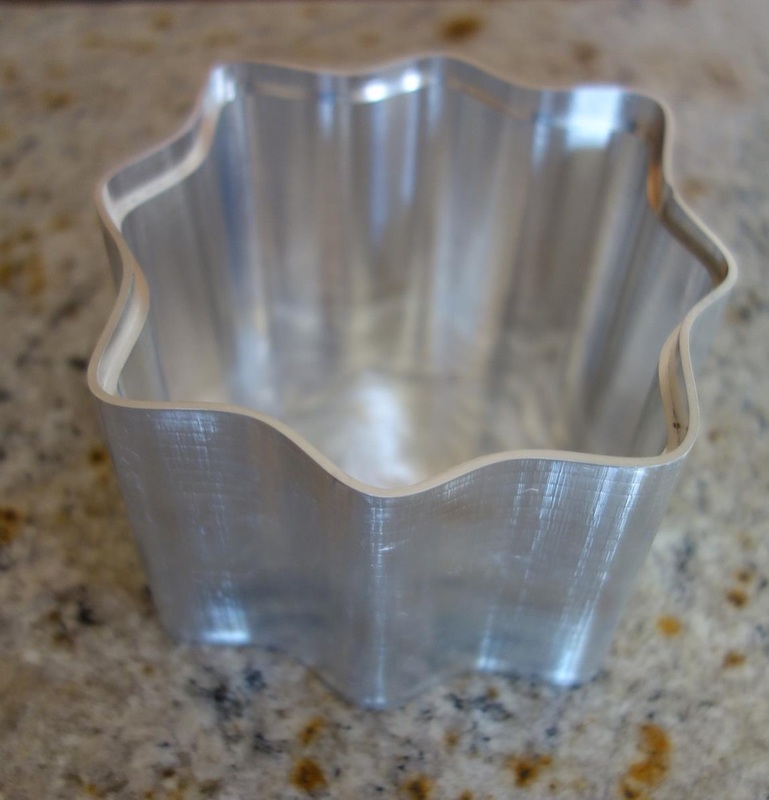
The box component. Its smooth, splined outline is inspired by the shape of sea creatures. A shallow relief on the floor of the box enables a secure fit with the serving dish. This piece was machined from a single block of 6061 aluminum.
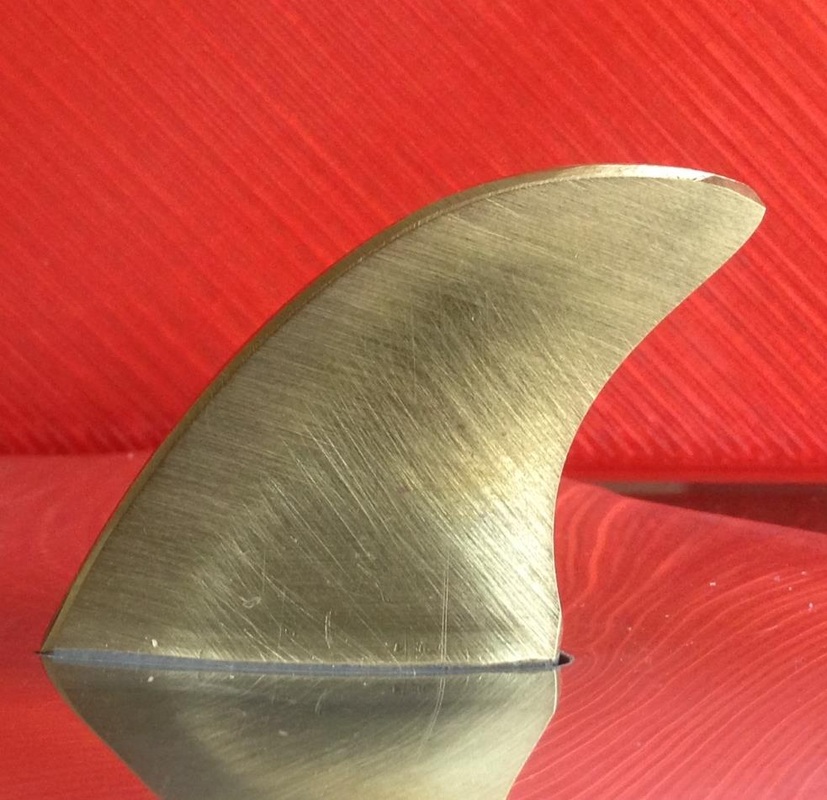
The handle component, made of 360 alloy brass. Its shark fin shape reminds users not to eat too much of (my) caviar. It was epoxied in place for a seamless appearance.
|
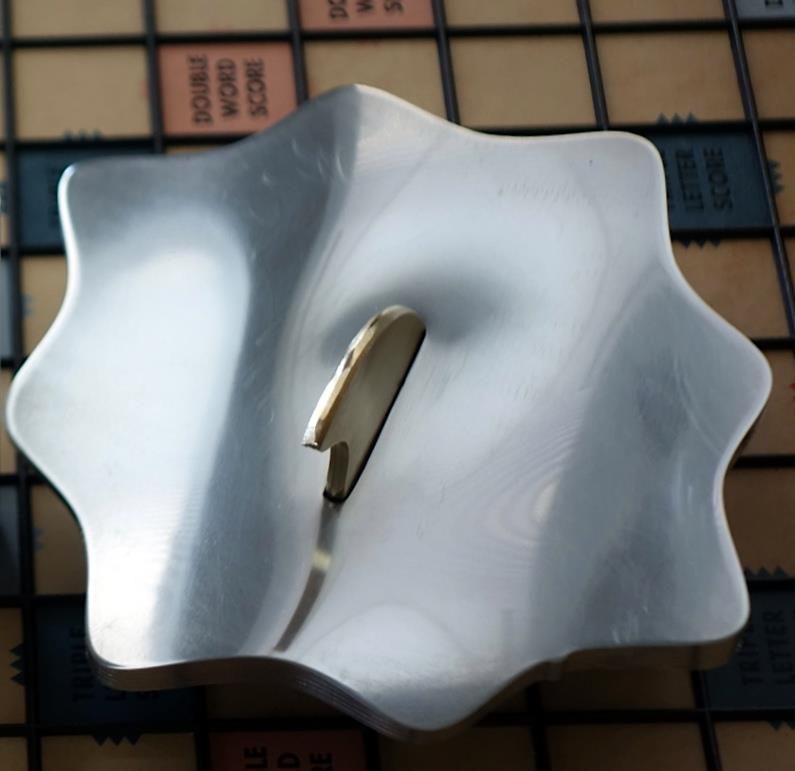
The lid component. It was surfaced using a ballnose endmill and then polished, to emulate the beauty of rippling water. The perimeter is notched and contoured for a precise fit with the top of the box.
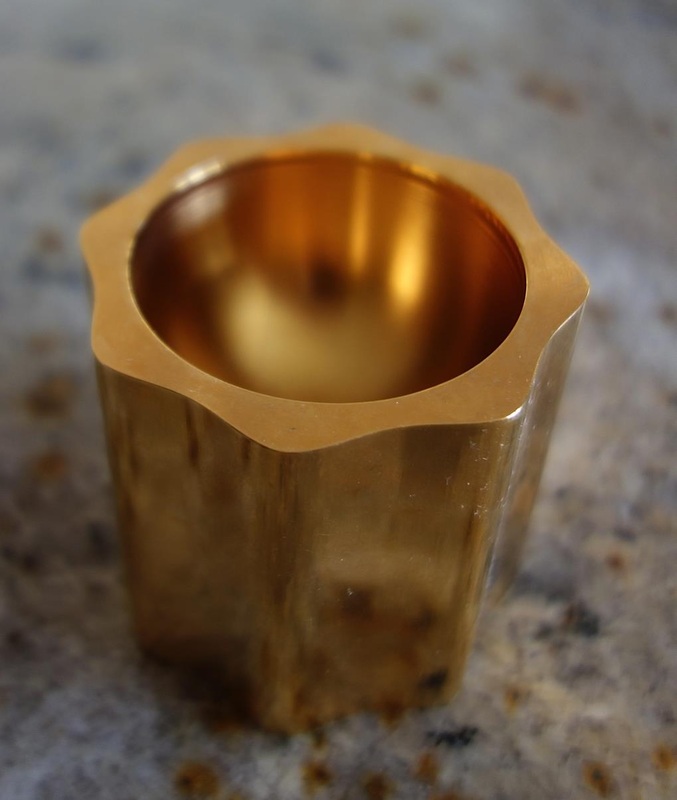
The dish component. The aluminum piece was plated in 24k gold to ensure a non-reactive serving surface. The egg shaped cavity is supposed to be reminiscent of fish roe.
|
the process
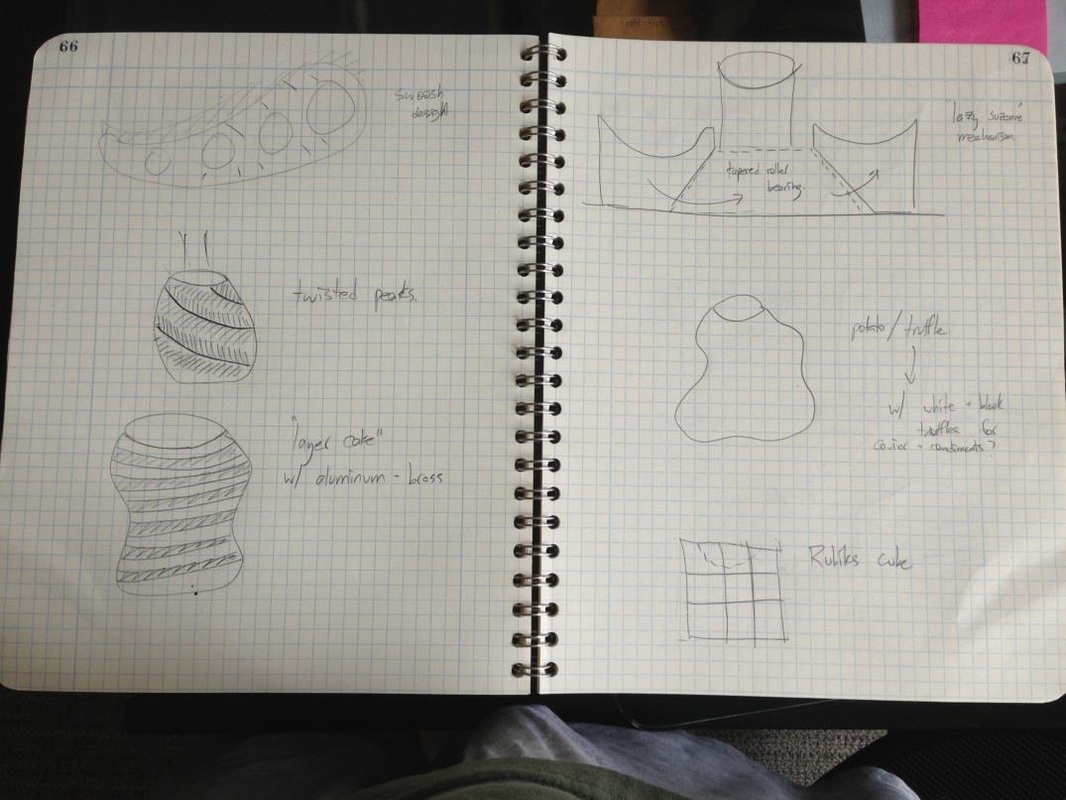
1. My design notebook used during this project (part of ME318 at Stanford).
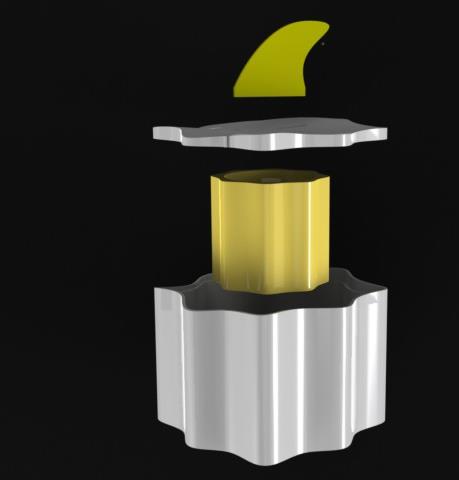
2. A quick Solidworks rendering of the final piece.
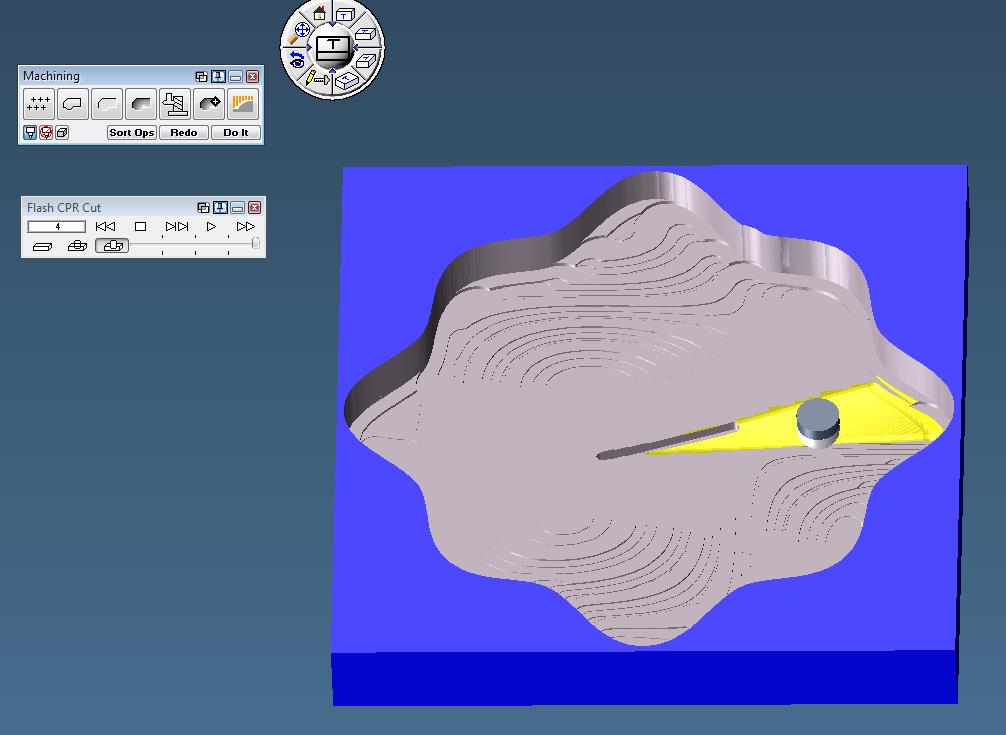
3. CAM work was done using GIBBS CAM (not my favorite, but that's another topic!)
|
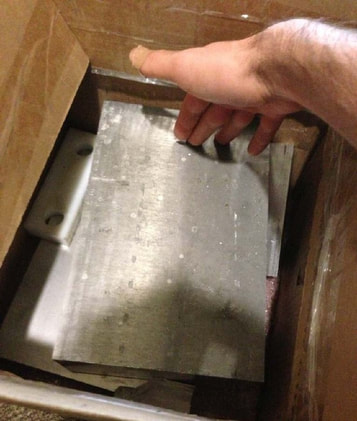
4. Raw material (aluminum) used to make the various components. I used a lot of it!
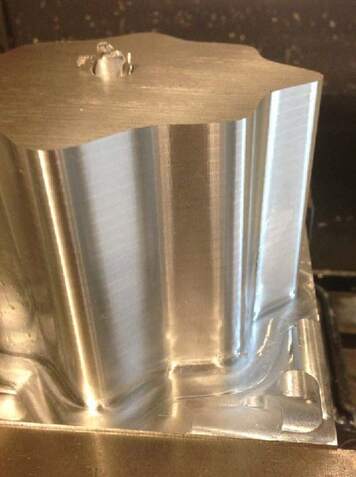
5. Roughing out the box.
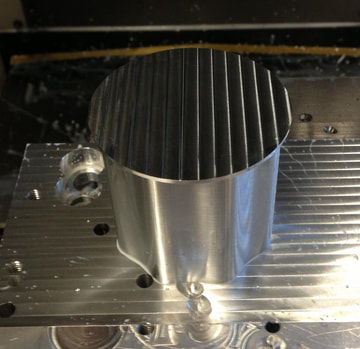
6. Fixturing and centerfinding the dish, after the part flip.
|
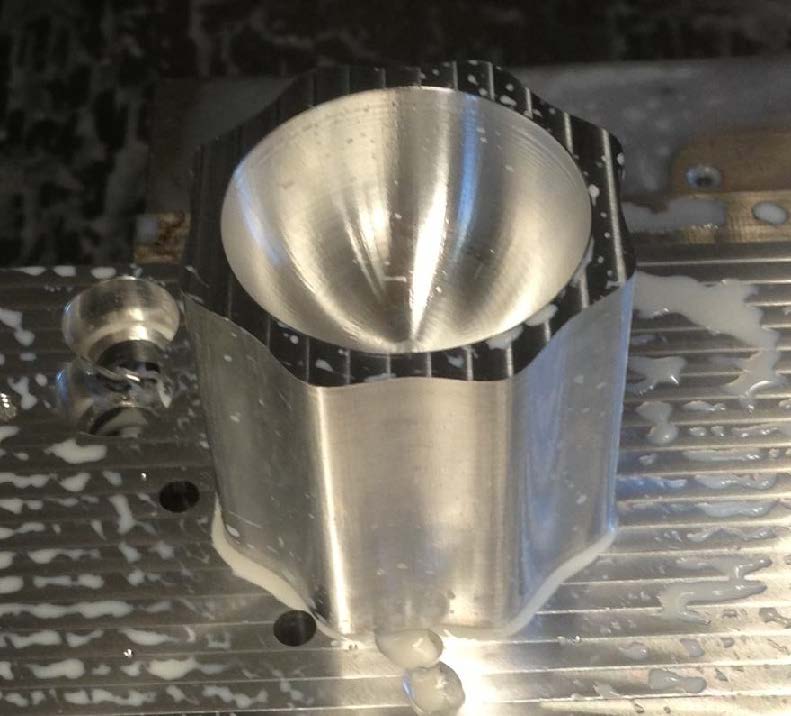
7. Final steps of making the dish.
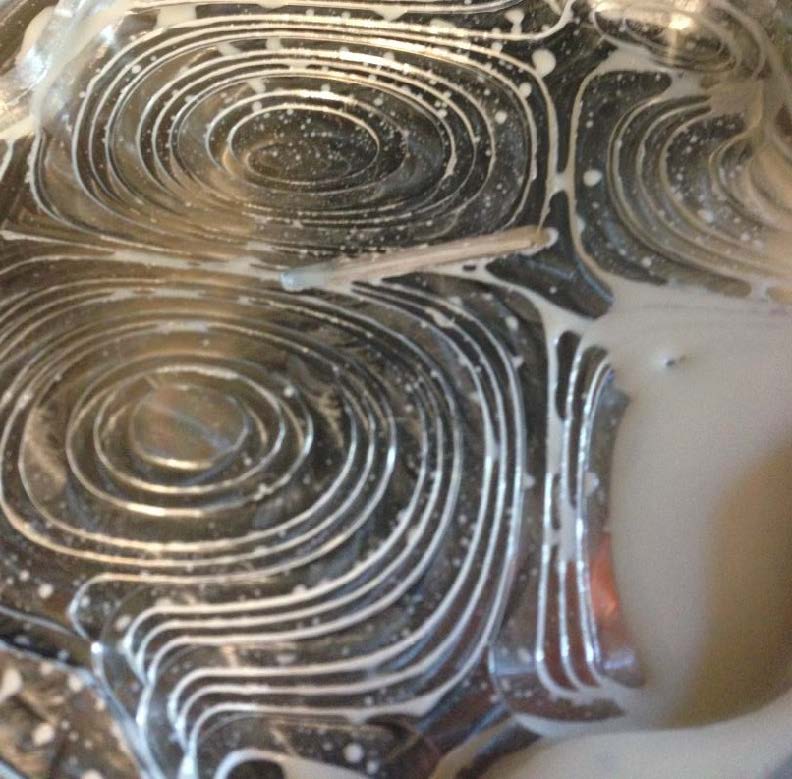
8. Midway through producing the lid. These rough cuts were followed by a 3/8" ballnose endmill and buffing compound to produce the final shiny and smooth surface.
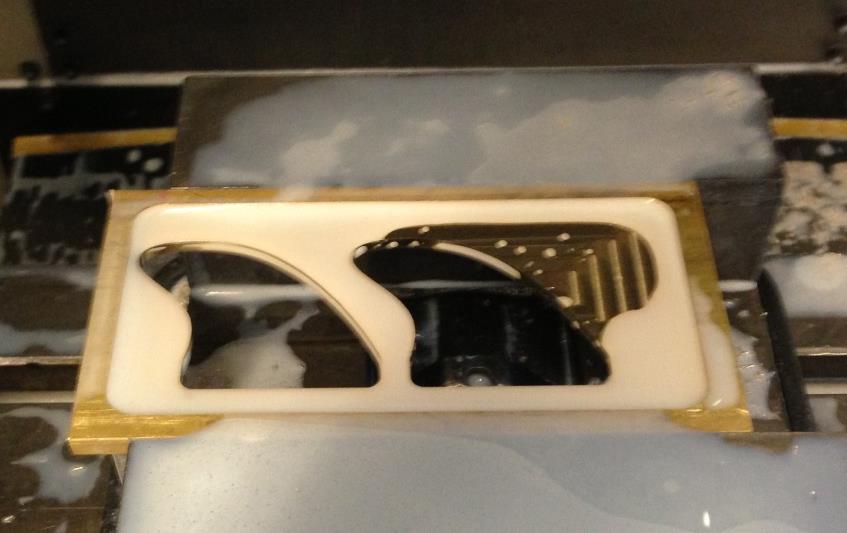
9. The fin-ale!
|